Ghost 5.0 Has Arrived, Let's Deploy It with One Click on Digital Ocean

Author: pseudoyu | 1002 words, 5 minutes | comments | 2022-05-29 | Category: Tools

blog, digital ocean, ghost, self-host, vps

Translations: ZH, DE

《Here After Us - Mayday》

Preface

I am an advocate of static blogs and serverless support. My personal blog and some knowledge base projects are generated using hugo and hosted on GitHub Pages. This approach is convenient for version control and deployment maintenance, but for non-technical individuals, using command-line git operations can be overly complex, and it’s not particularly convenient for scenarios involving multiple collaborators.

Last week, a former colleague (non-technical) asked me to help set up a portal website, mainly to showcase company information and publish news, features, tools, etc. Considering ease of use and other factors, and having just seen the official release of Ghost version 5.0, which supports many powerful features such as email subscriptions and data analysis, and can be self-hosted, I considered this solution. The following text records the installation and deployment process.

Ghost 5.0

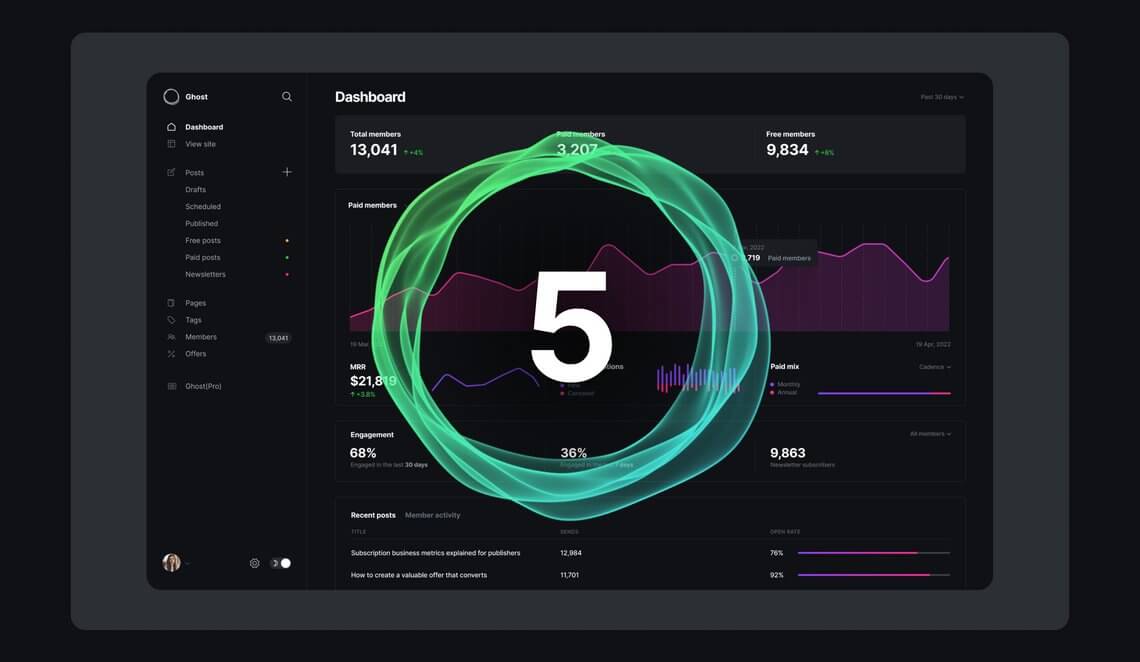
ghost_5_intro

Ghost is a rather old-school blogging tool that has been developing and improving for 9 years since its prototype was released in 2013. The recently launched version 5.0 is very suitable for individuals and independent publishing platforms. The 5.0 version includes the following feature updates:

  • Support for more powerful subscription functions, such as tiered subscriptions
  • Support for multiple email subscriptions, making design modifications more convenient
  • Support for publishing promotional activities, with a more powerful user analysis dashboard
  • Native support for videos, blogs, GIFs, e-commerce products, NFTs, etc.
  • Release of more new themes
  • Performance optimization of 20%+

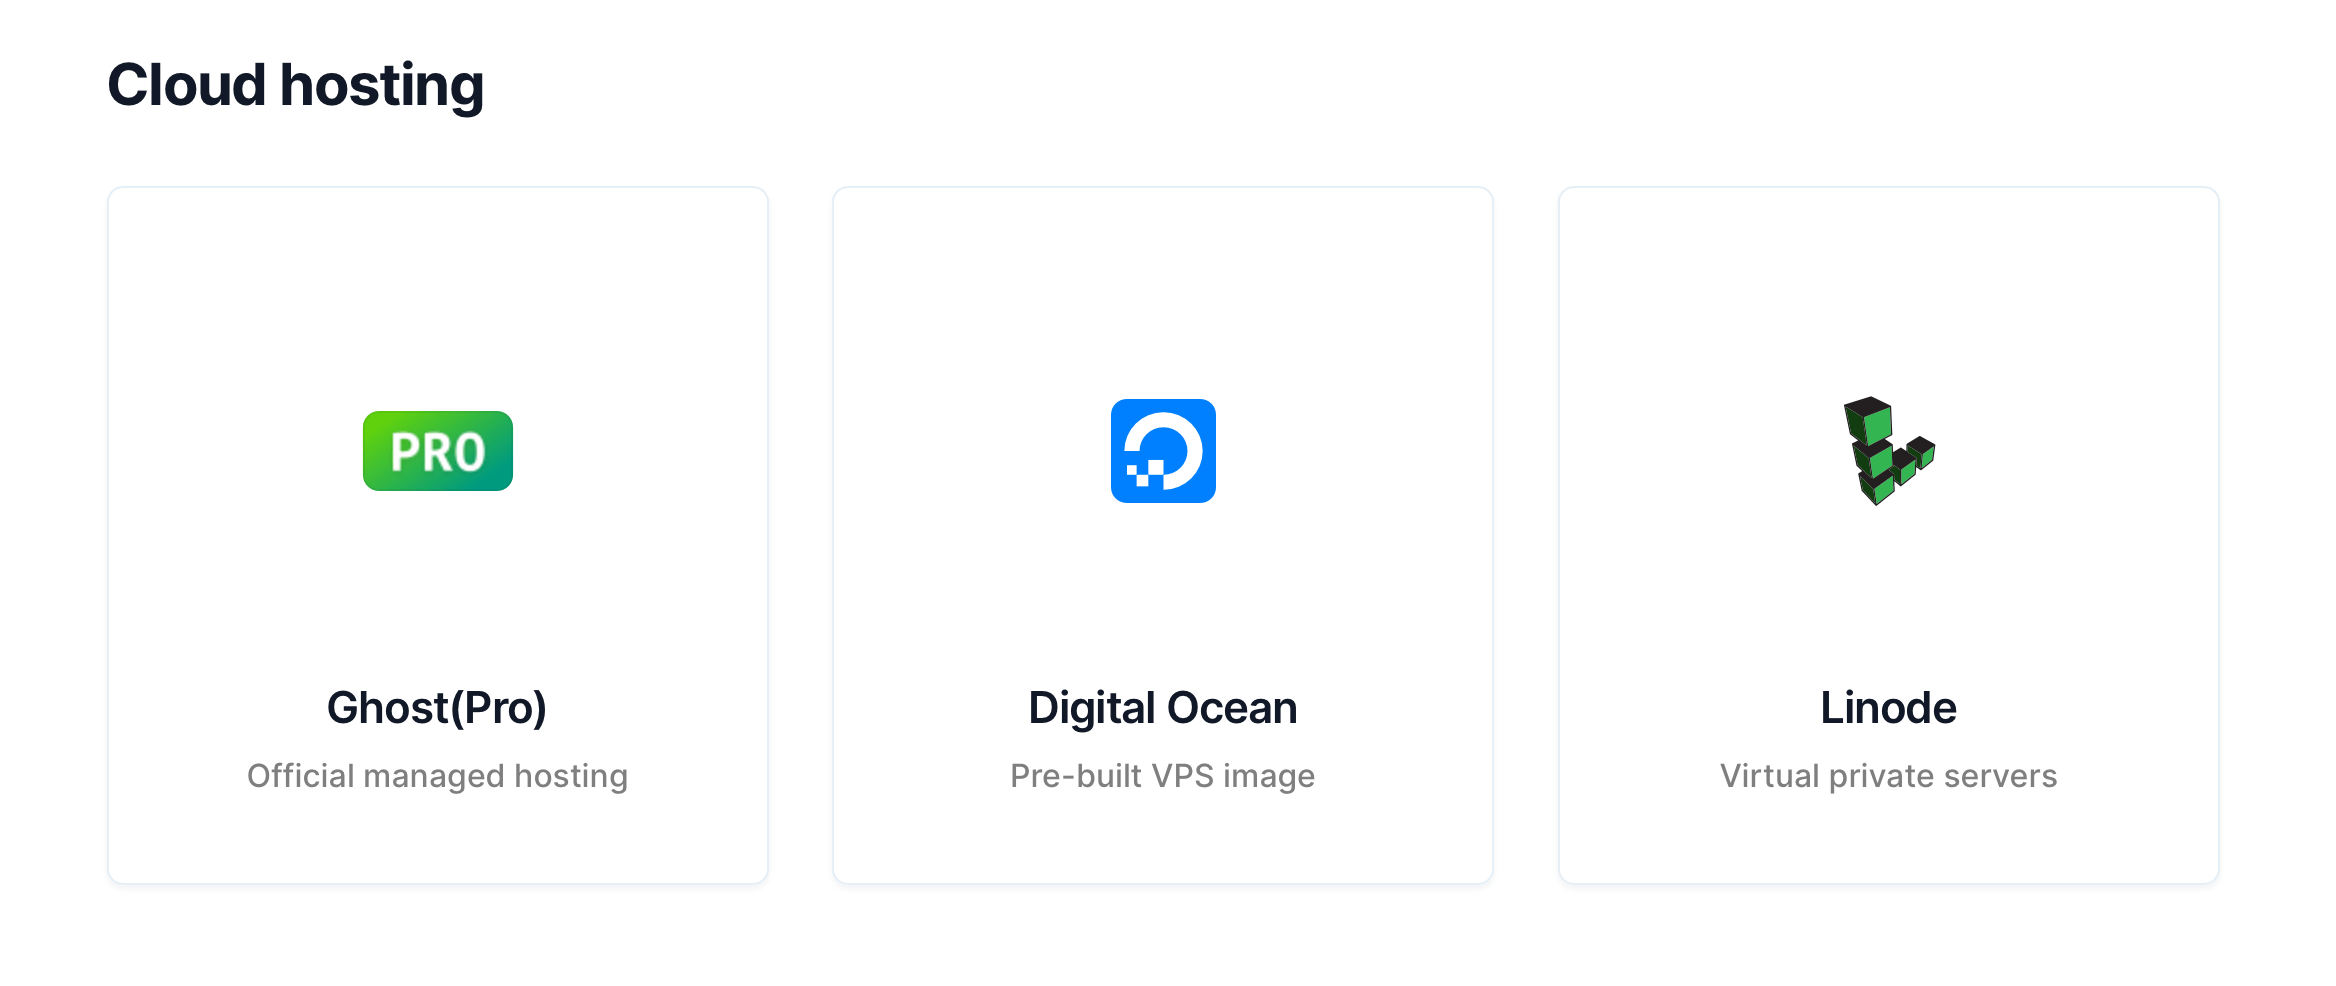
Ghost officially supports various deployment methods, such as Ghost(Pro) hosting, Docker images, server installation, etc. However, because Ghost’s production environment depends on Ubuntu, Node, MySQL, and other environments, it can be quite troublesome to set up independently, and the maintenance cost is also relatively high. After some research, according to the installation instructions in the official documentation, Digital Ocean is Ghost’s official cloud hosting partner, providing a one-click deployment and installation method, which is simple and convenient.

Installation and Deployment Instructions

Domain Purchase

As a publicly accessible website, we need to purchase a domain name and configure DNS resolution to point to the server where our website is located, allowing the public to access it conveniently. There are many domain purchase platforms; I have used Cloudflare, NameSilo, GoDaddy, etc. I ended up regularly using Cloudflare because it also provides powerful features such as CDN, website data analysis, and custom rules.

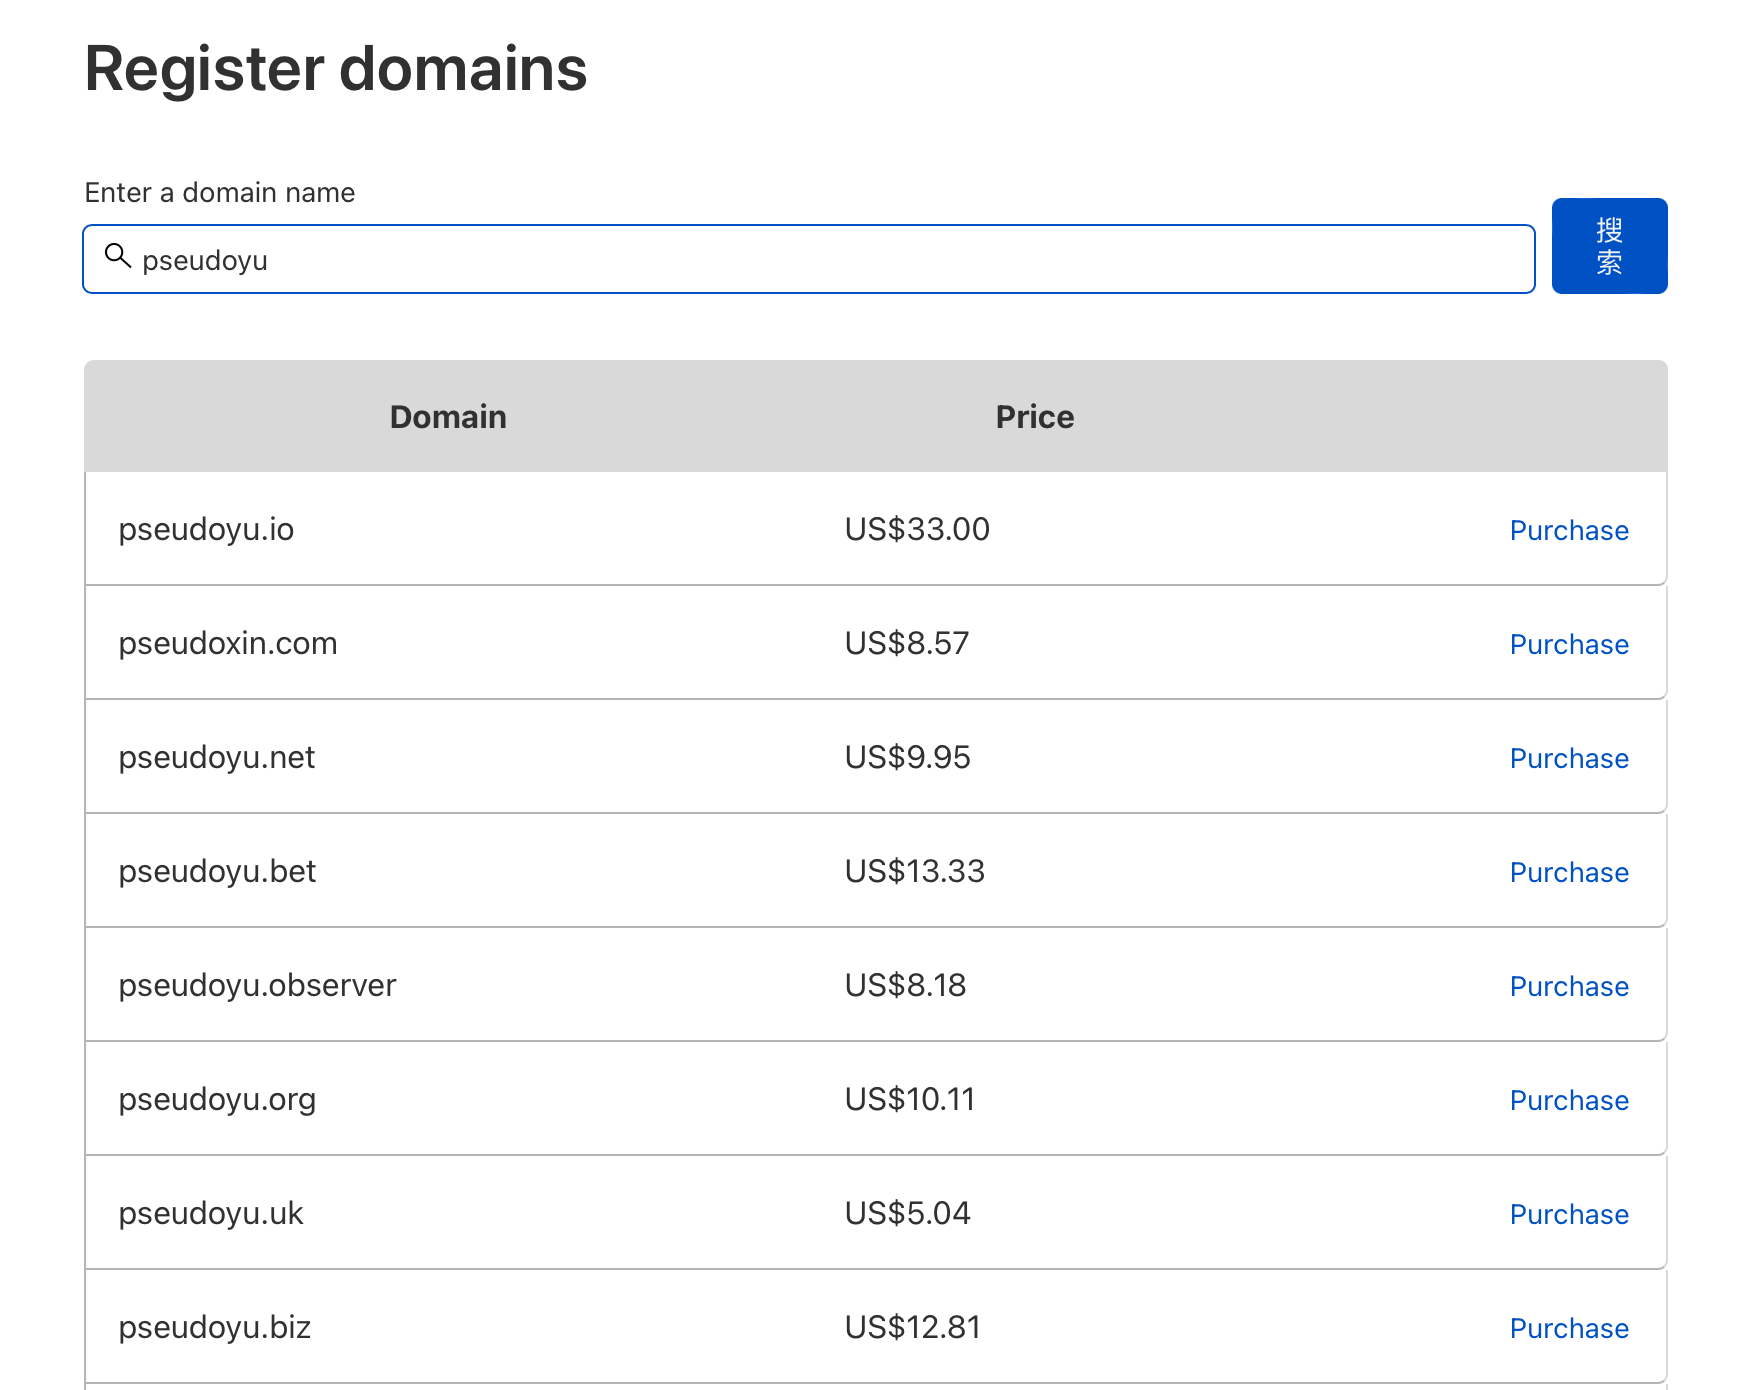
First, we need to register a Cloudflare account. After completing and logging in, select “Register Domain” from the left sidebar and search for the domain name you want to register.

cloudflare_register_domain

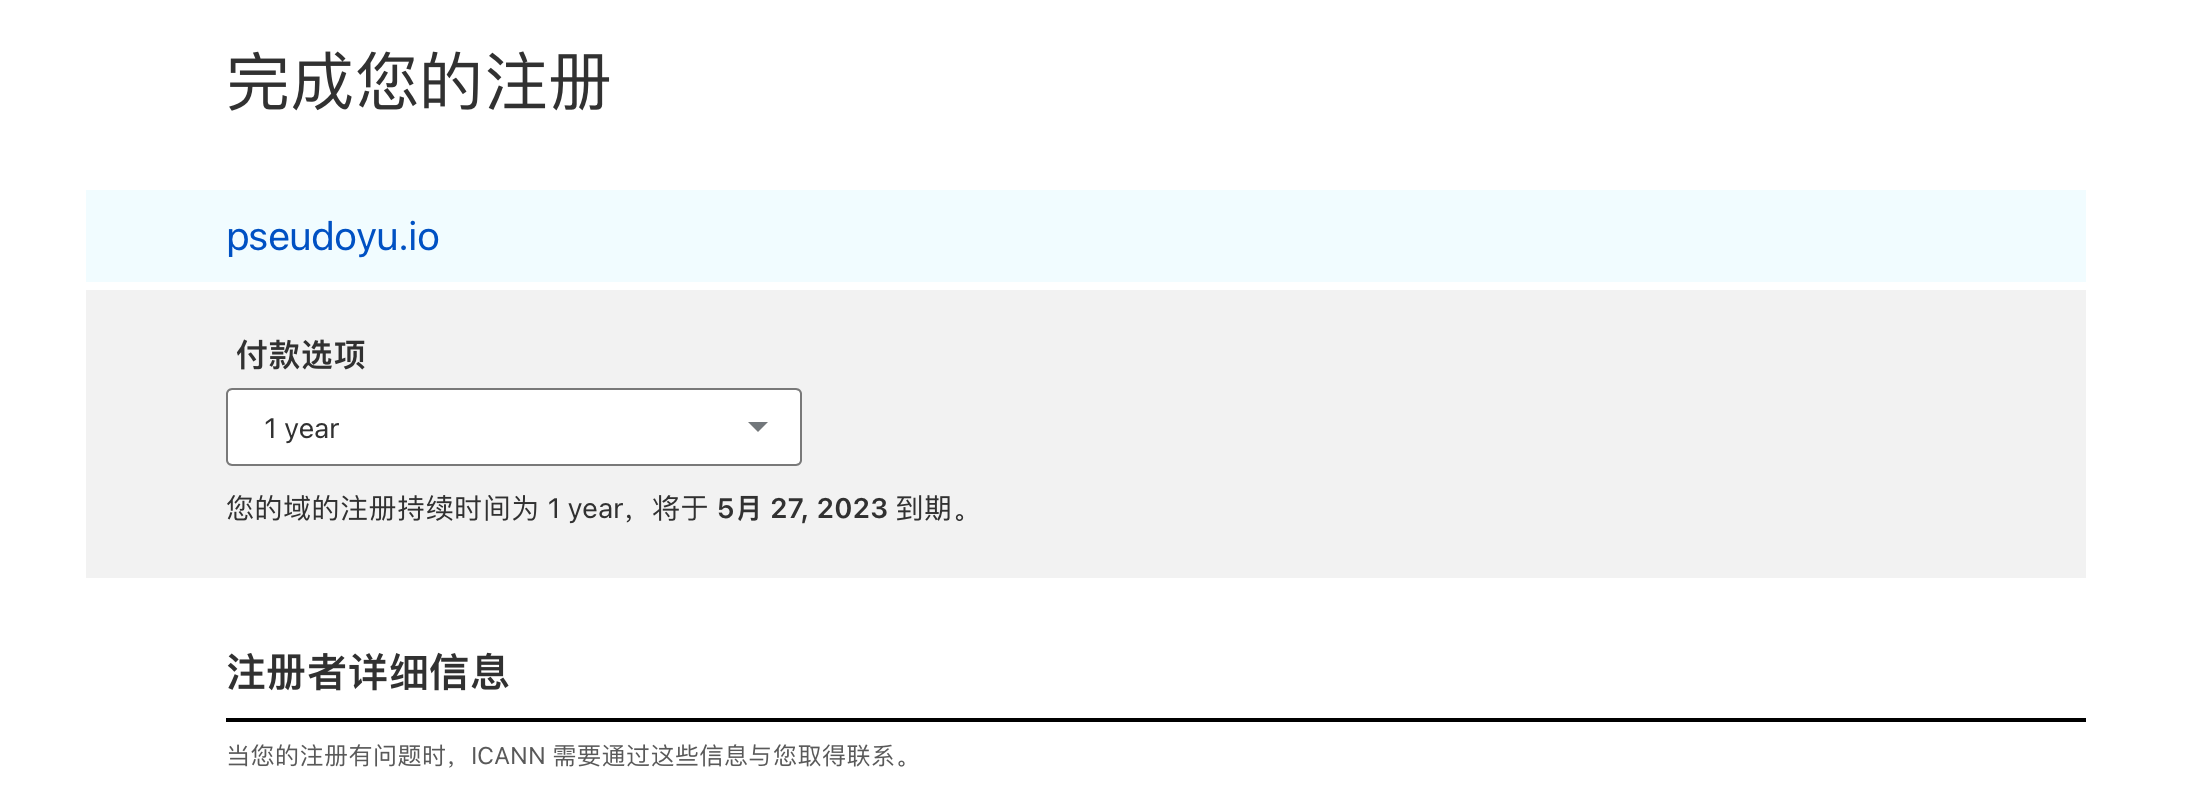
After selecting your desired domain name, click and choose the purchase duration and fill in your personal information.

cloudflare_register_domain_choose

Choose the payment method. It’s advisable to select auto-renewal to avoid forgetting to renew.

cloudflare_register_domain_payment

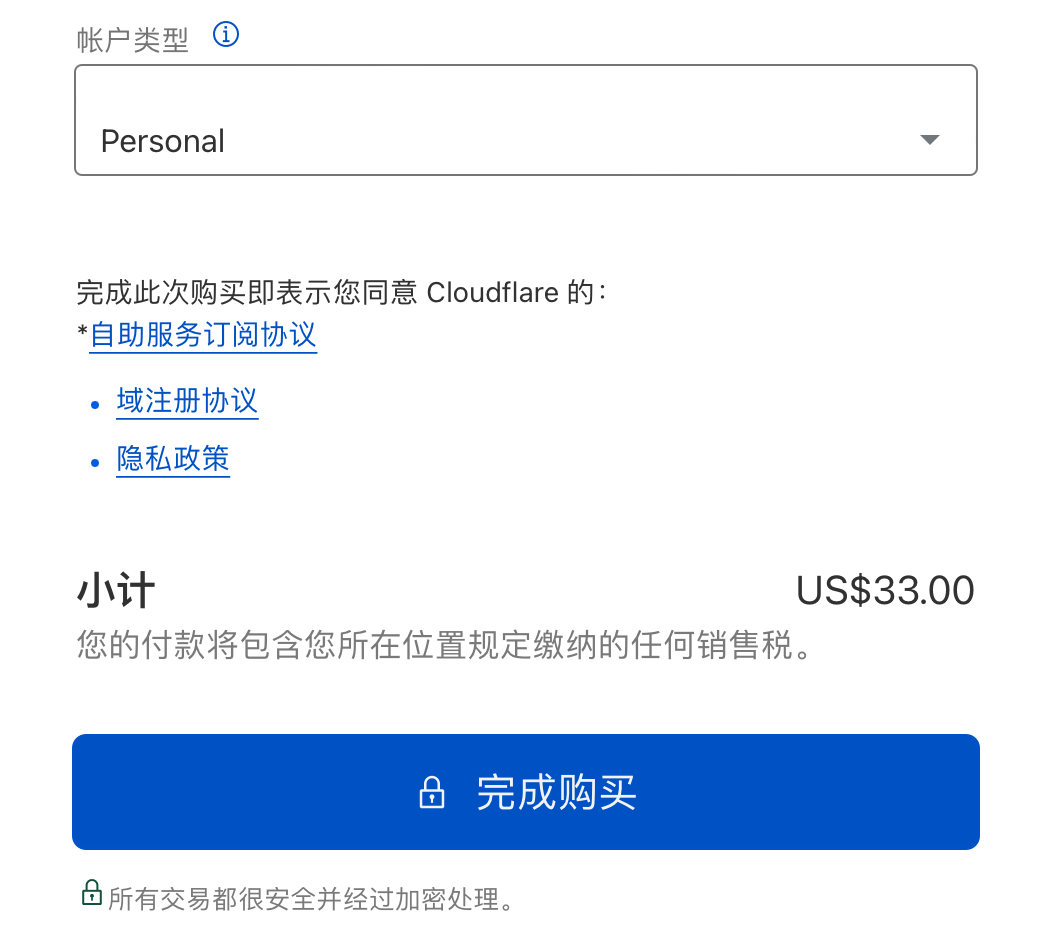
Select ‘Personal’ for the type and click to complete the purchase.

cloudflare_register_done

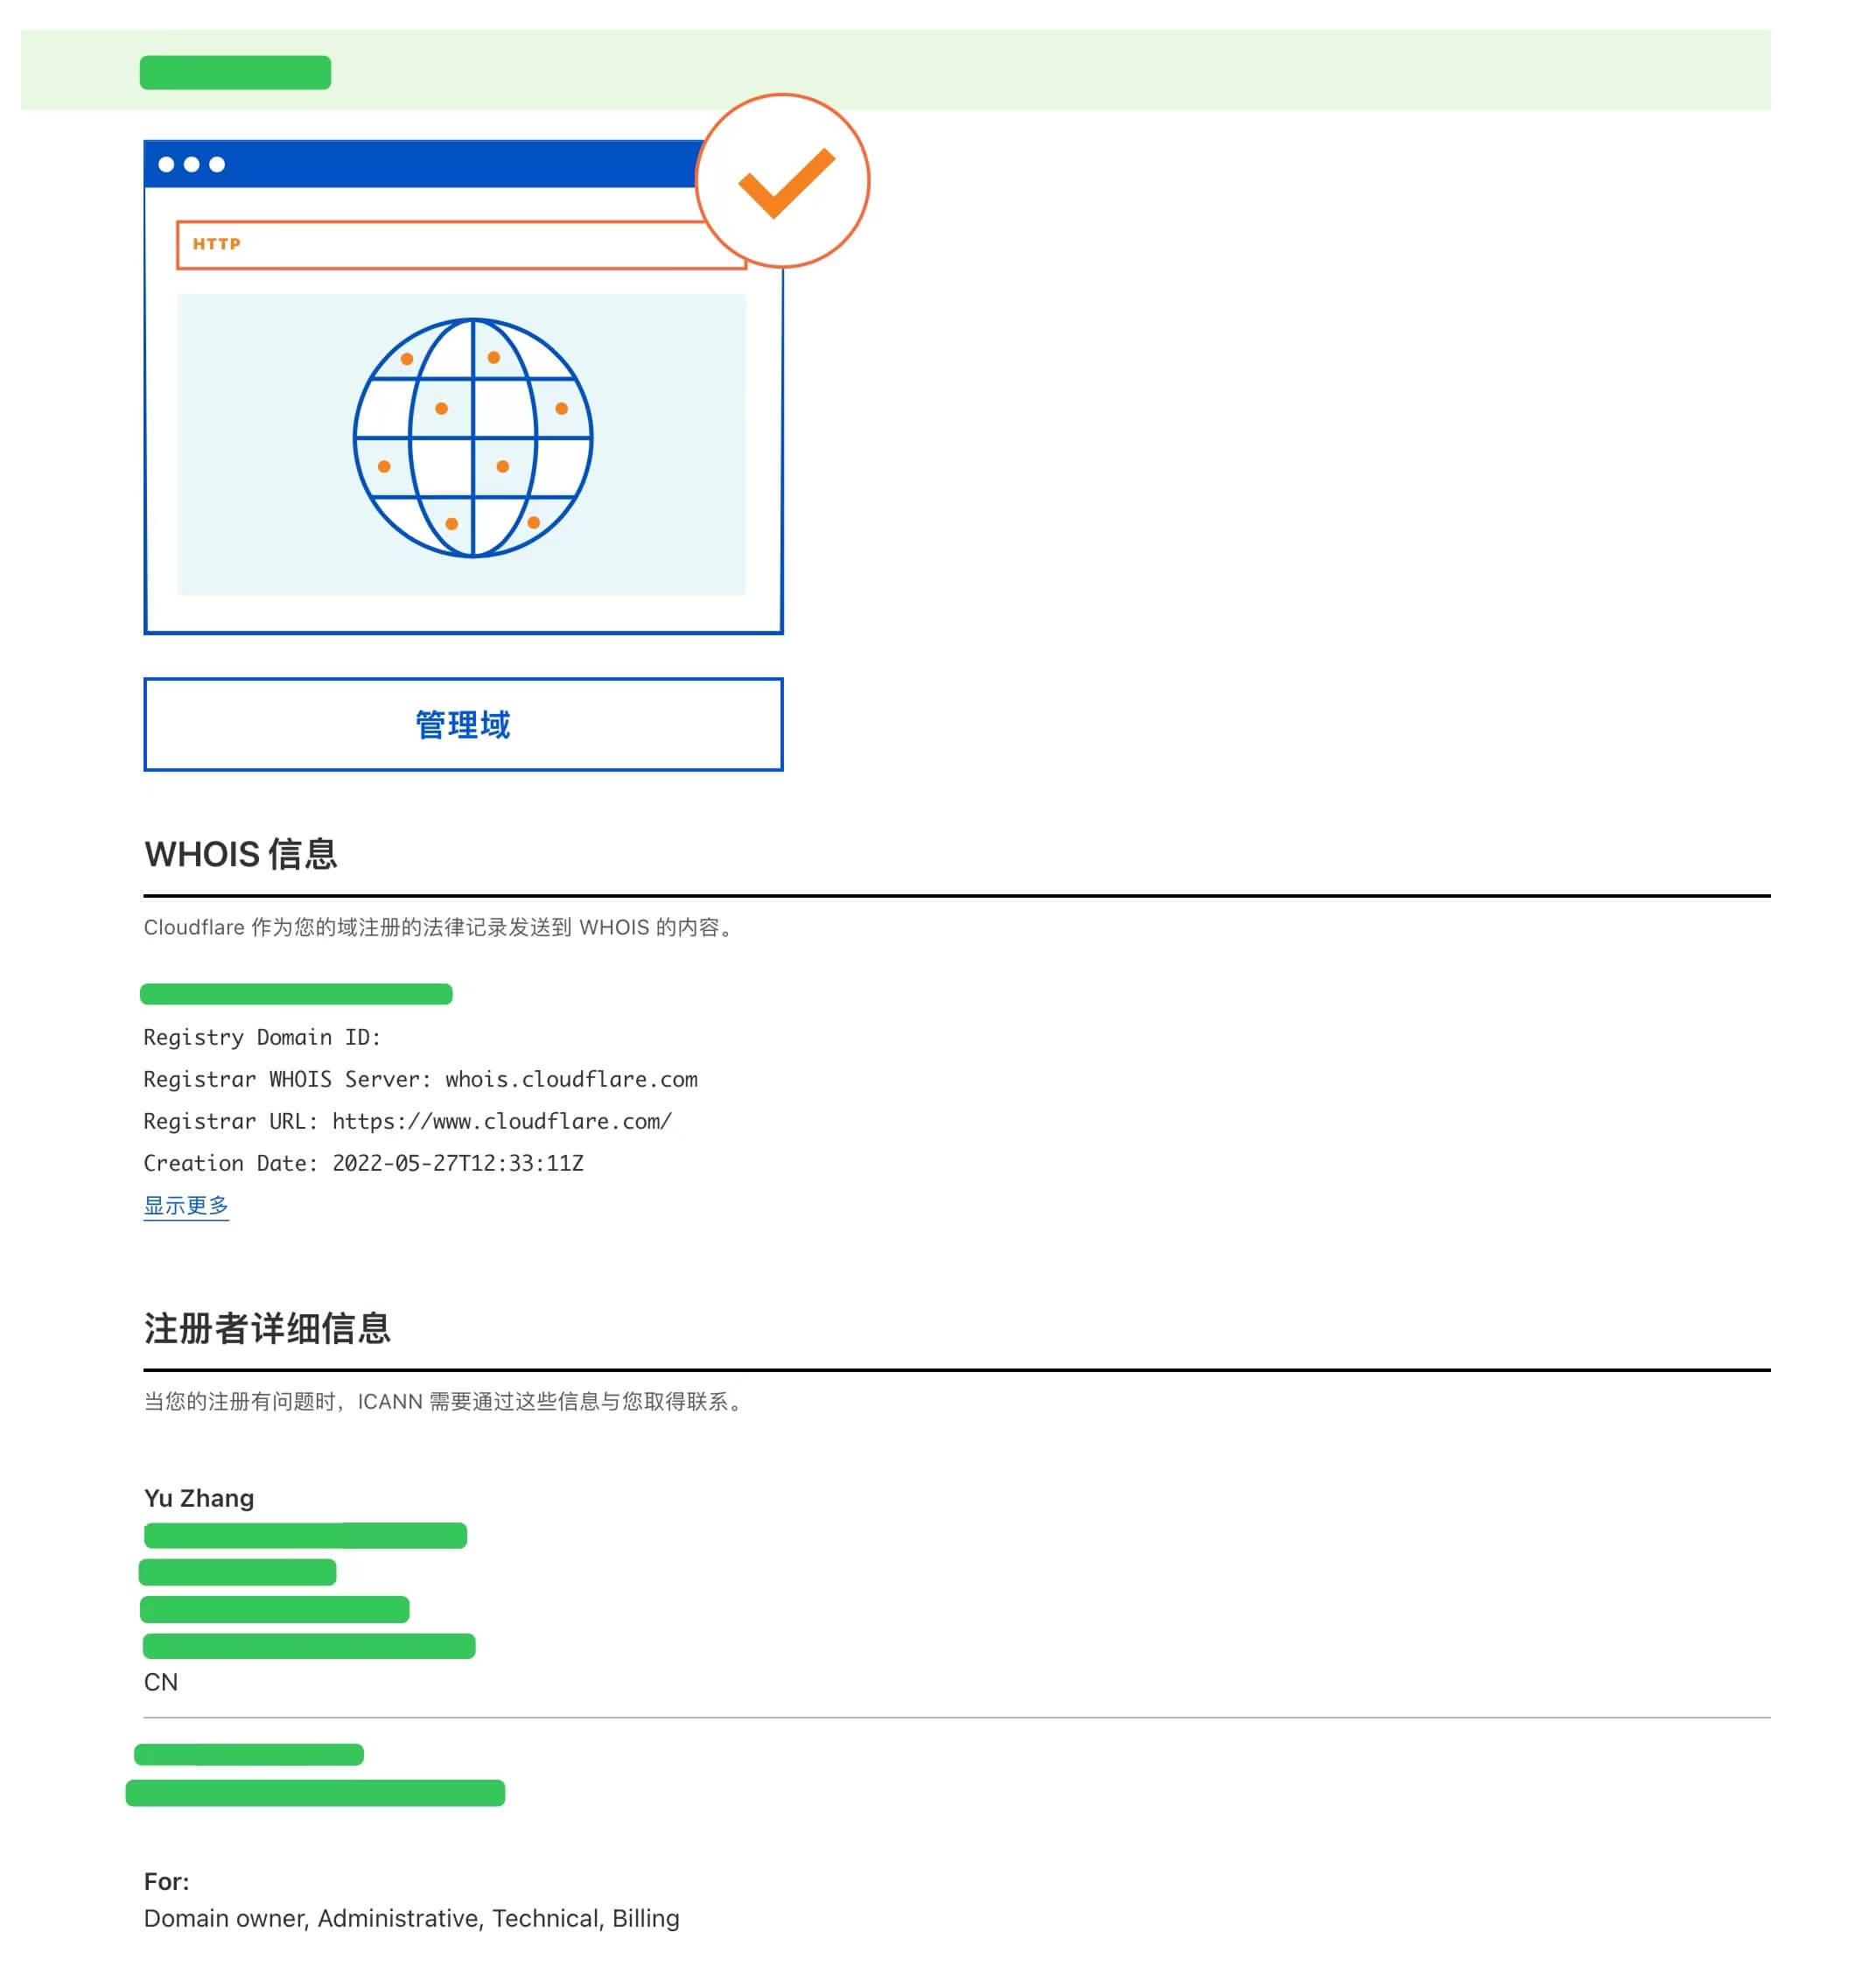
Wait for Cloudflare to process, and then you can view the information.

cloudflare_domain

Digital Ocean SSH Configuration

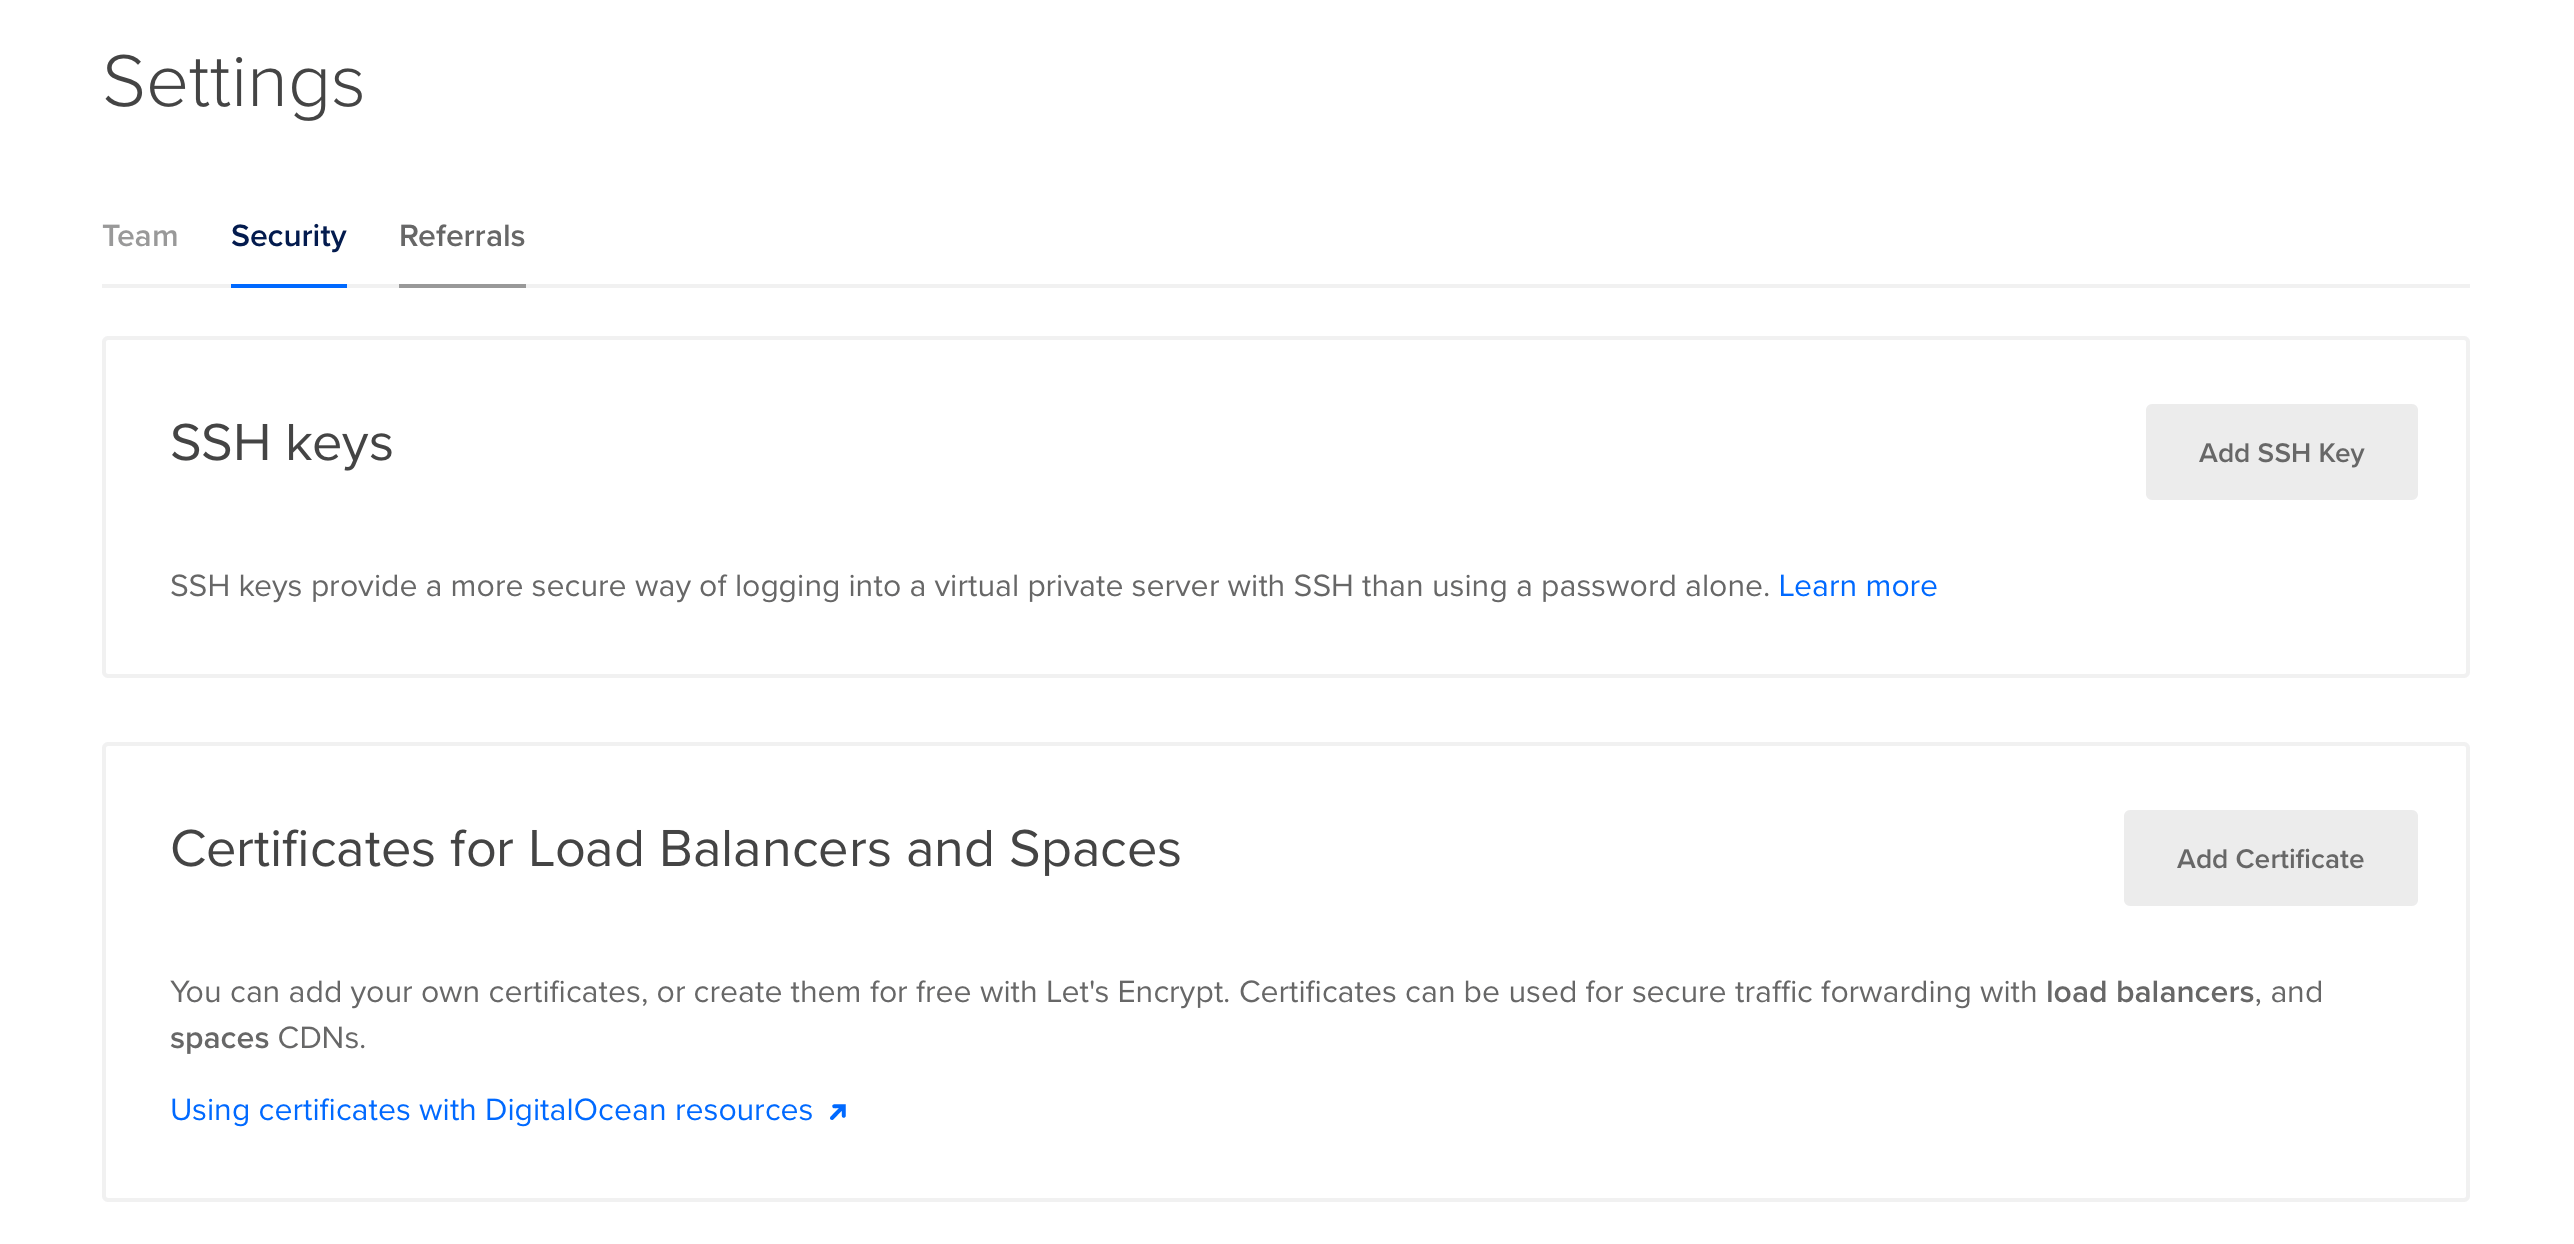
As we will need to access the Digital Ocean host later, we first need to register an account and configure our SSH key for password-free login.

digital_ocean_add_key

Enter our SSH key and click add.

digital_ocean_ssh_config

One-Click Creation of Ghost Droplet

As mentioned above, Ghost provides support for one-click Droplet creation on Digital Ocean. We can visit the installation instructions document and click on the Digital Ocean icon to jump.

ghost_use_digital_ocean

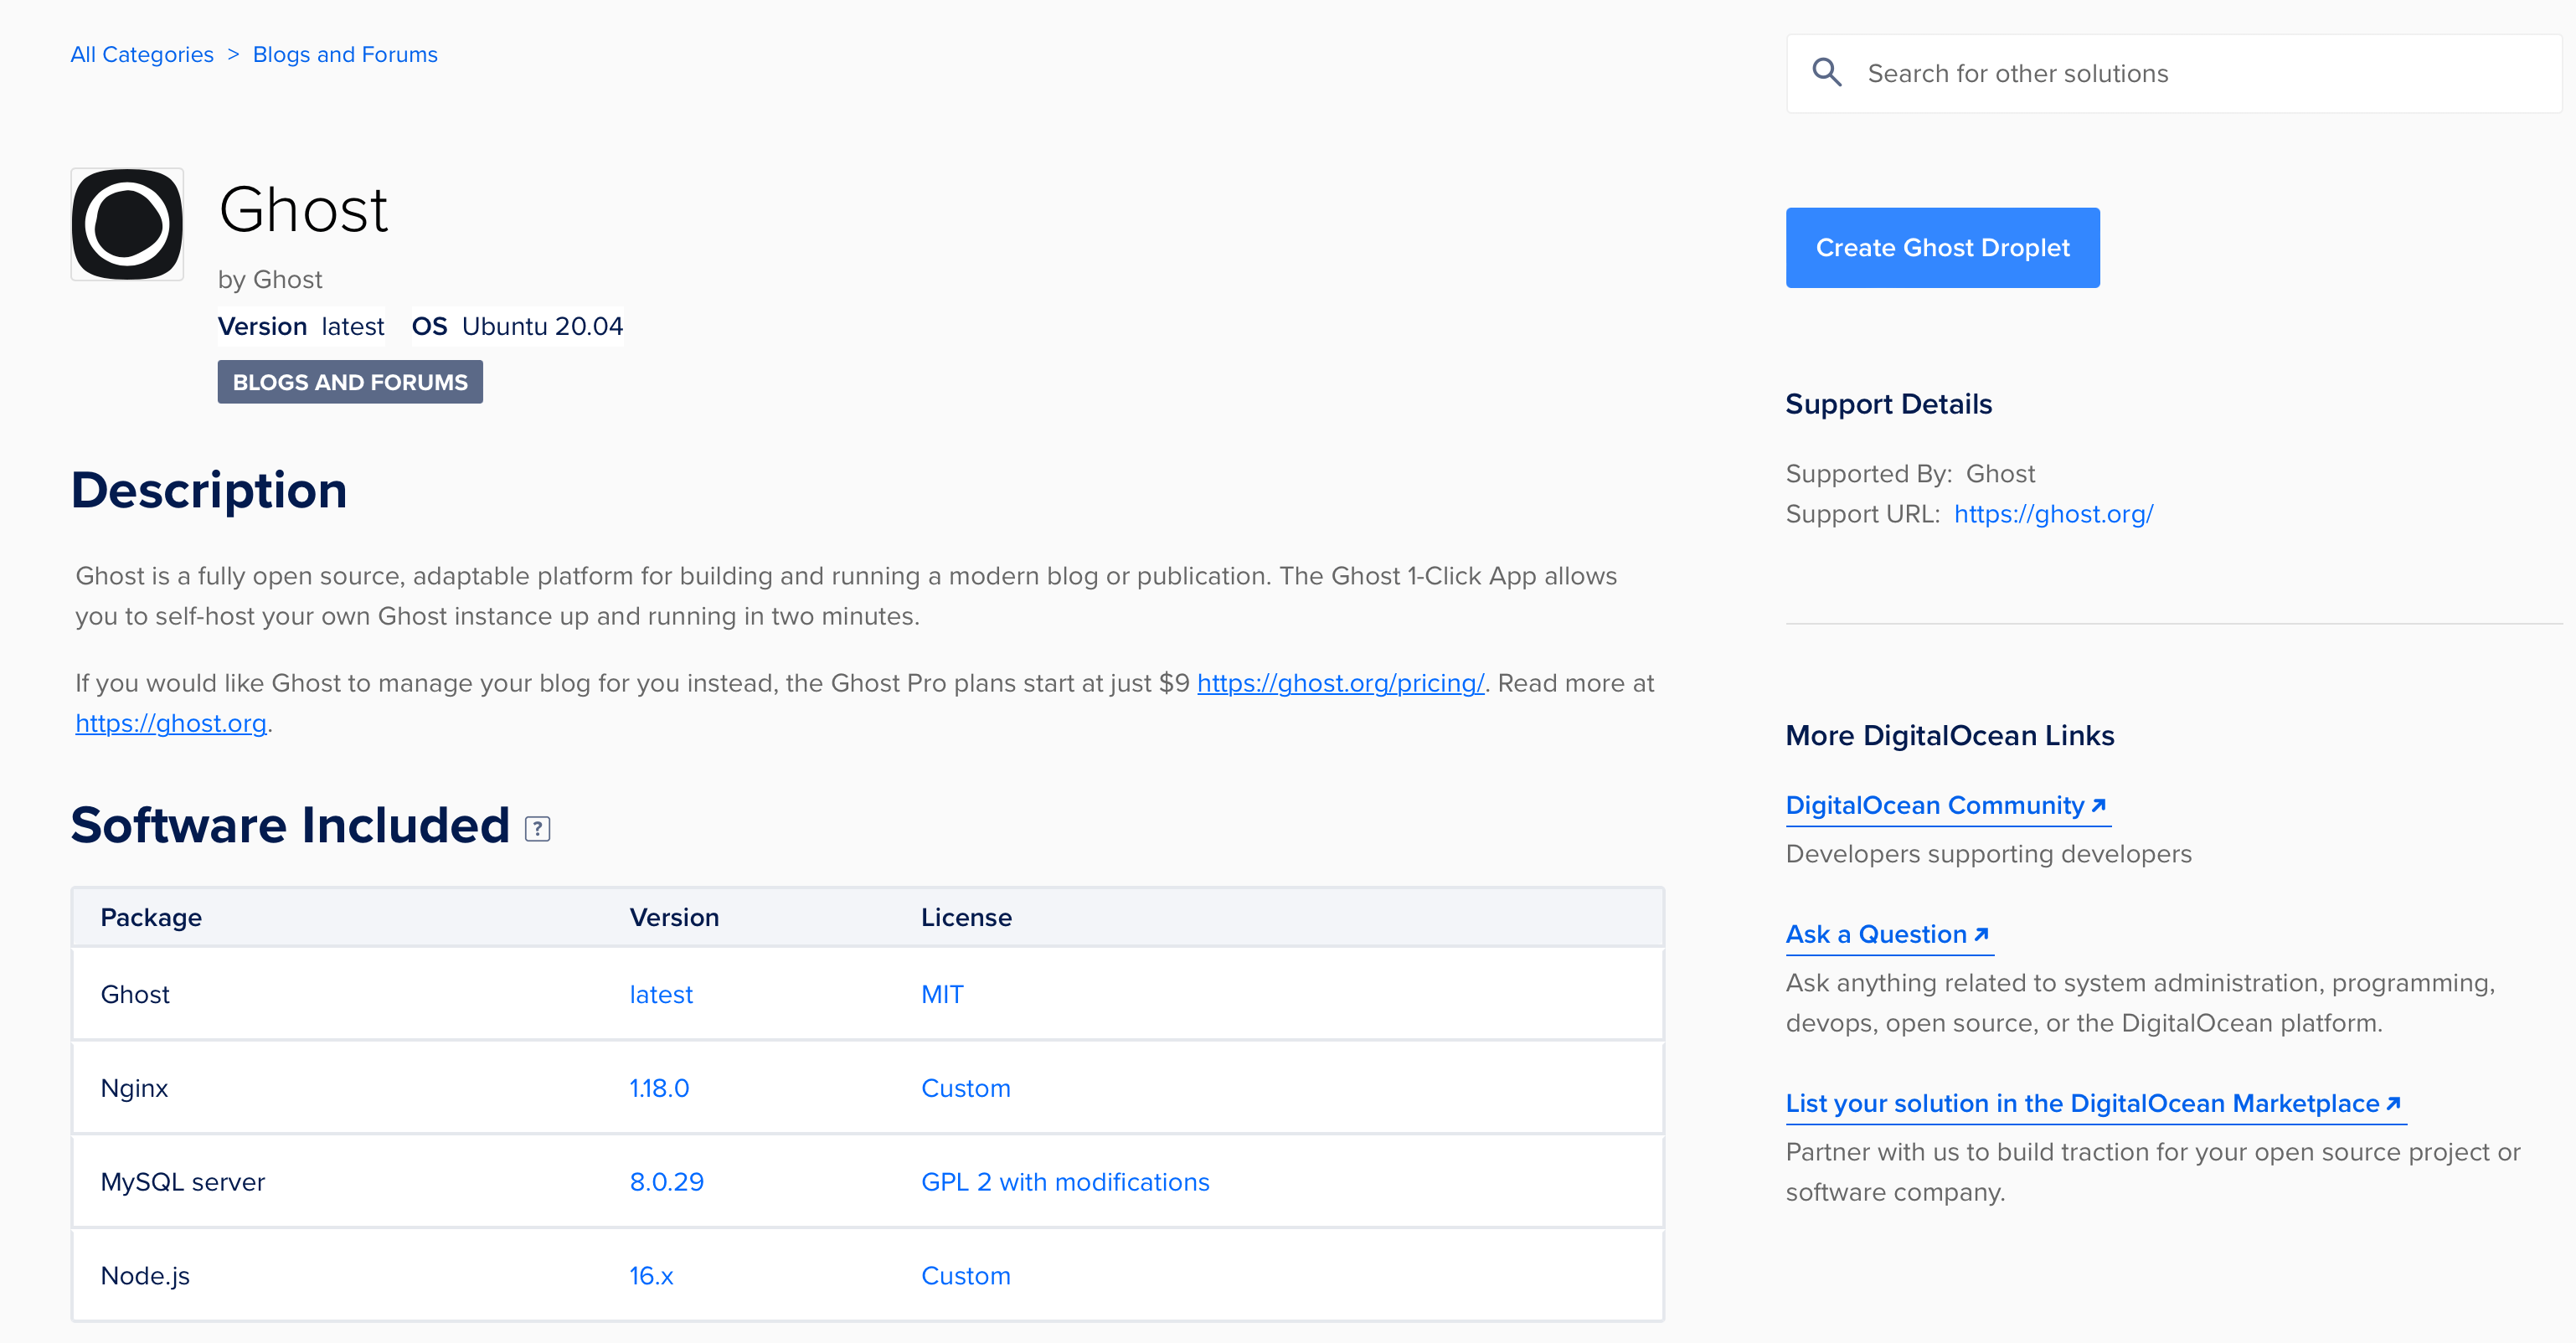
We can also search and select in the Digital Ocean image marketplace, then click Create in the upper right corner.

digital_ocean_market_ghost

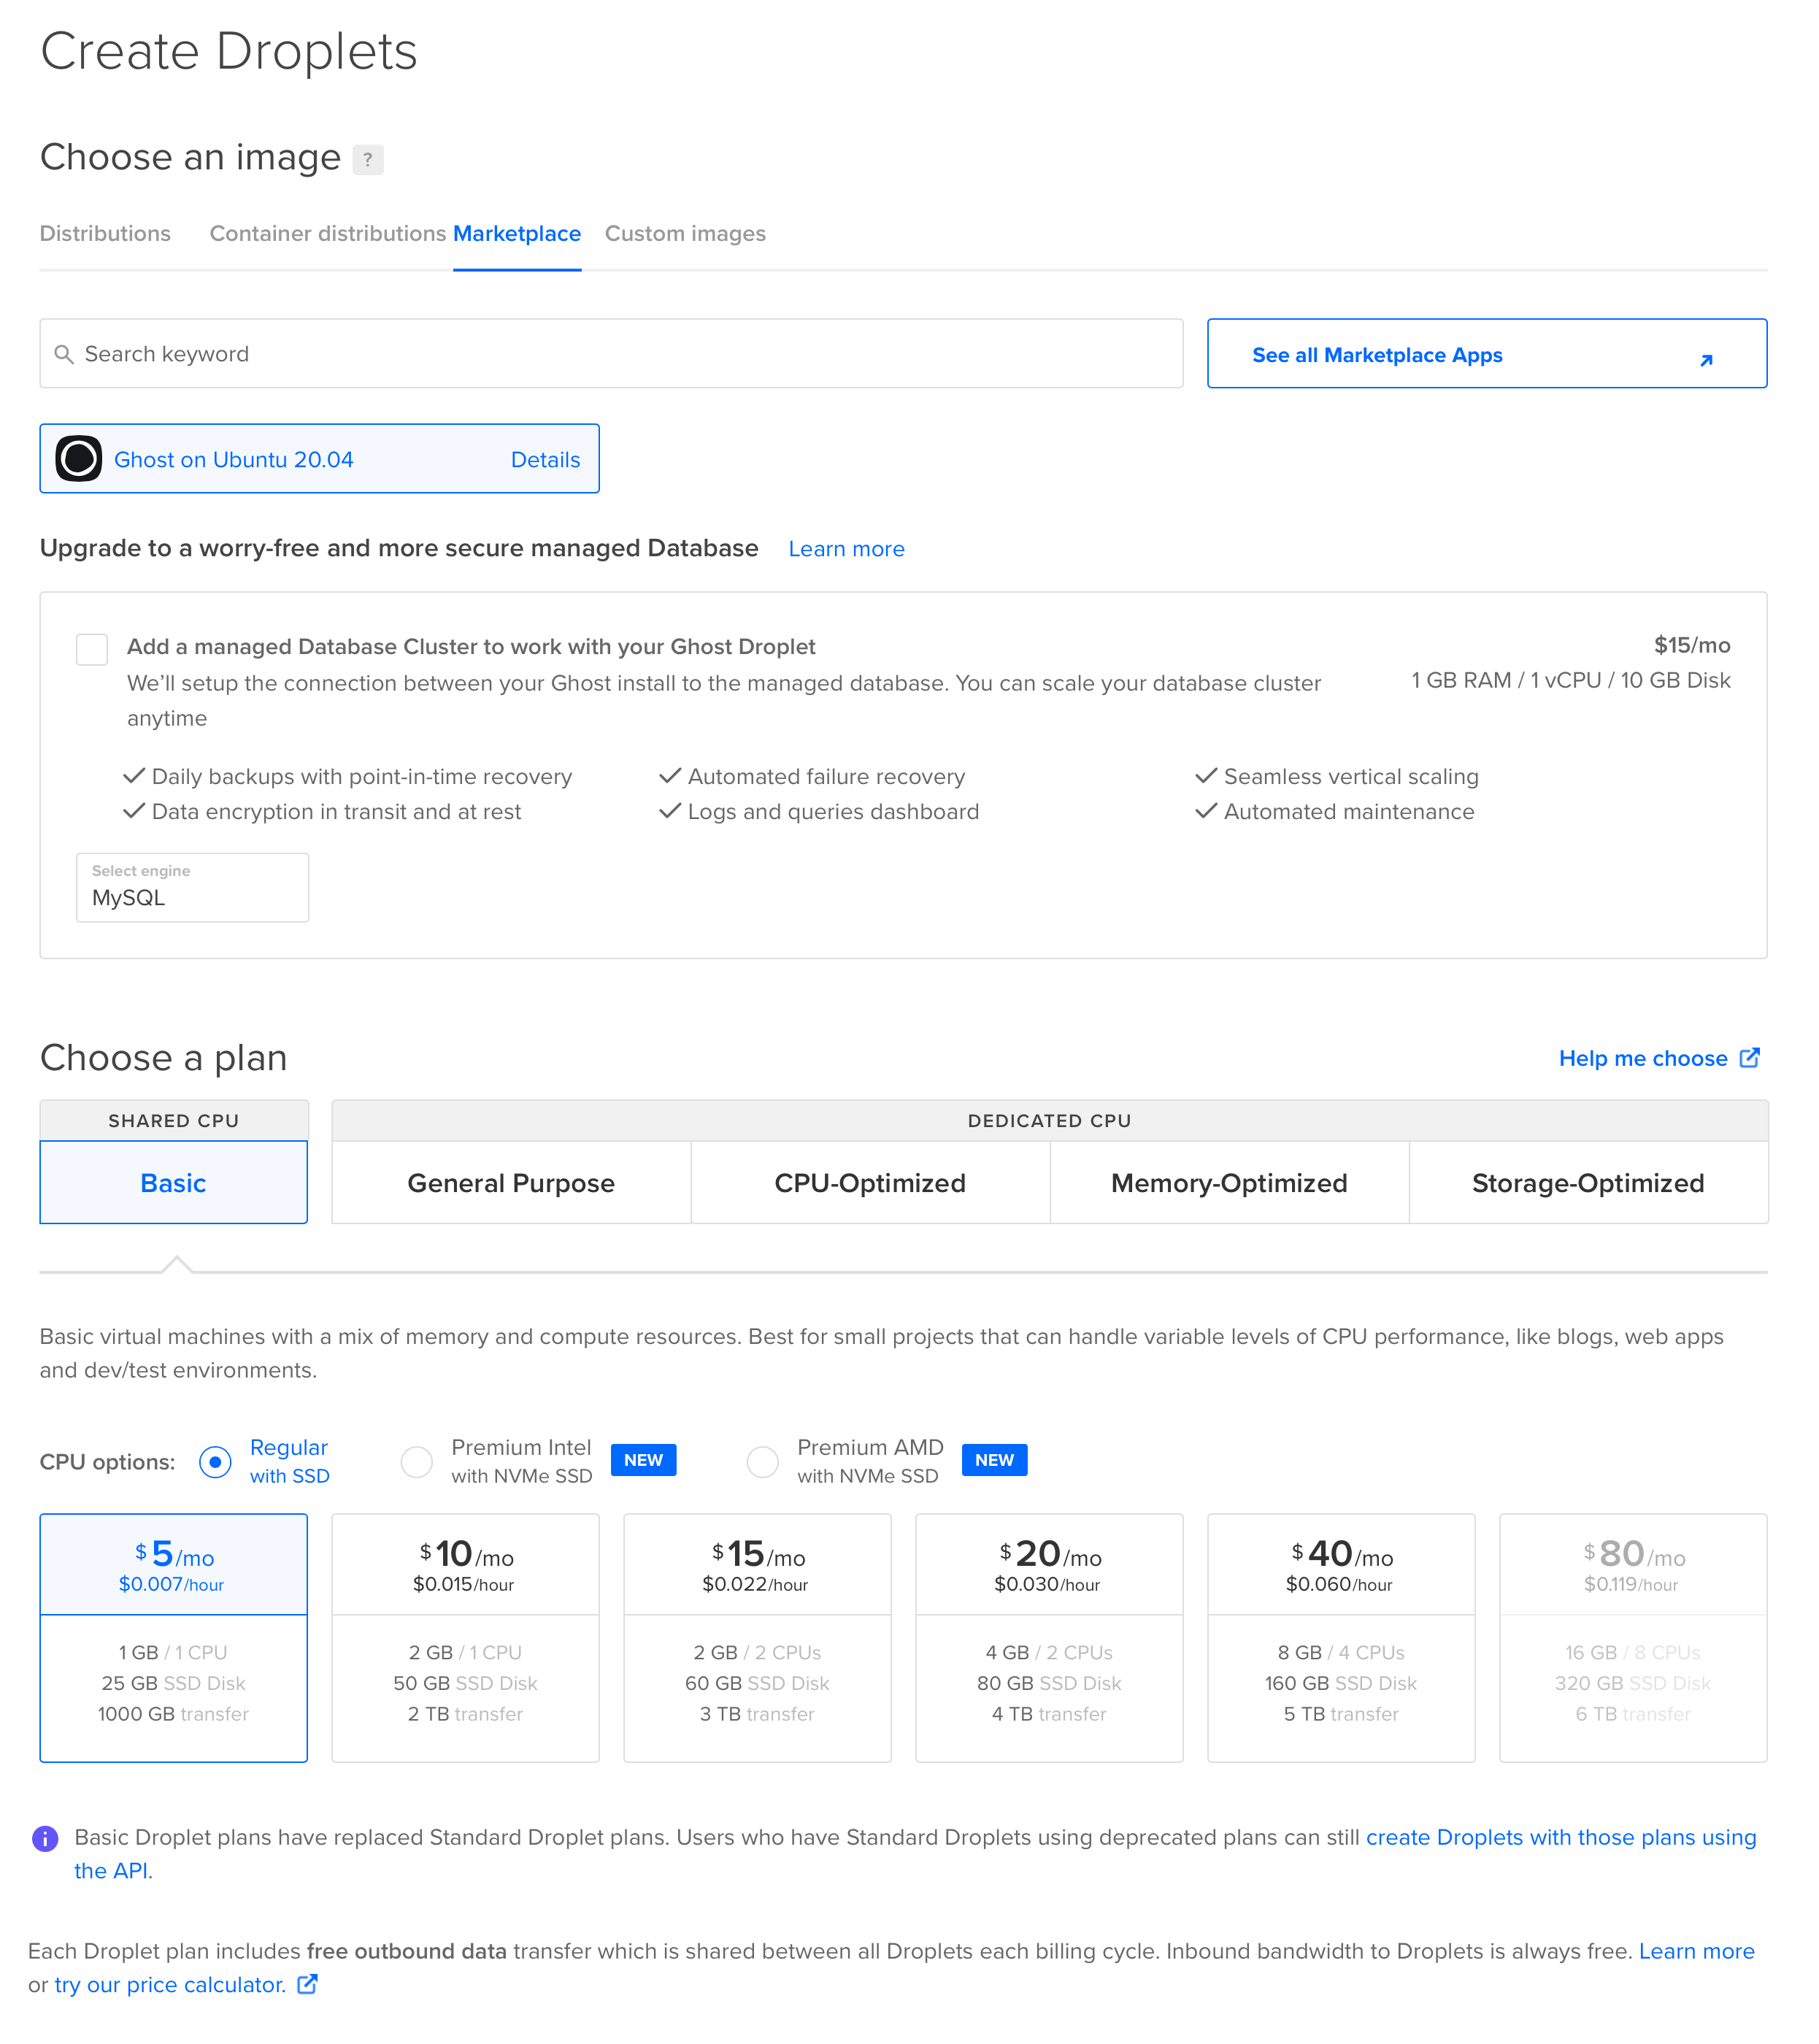
According to the official instructions, the $5/month plan configuration is already sufficient. You can also expand with one click if you have higher requirements later (Note: If you choose a high configuration first, you cannot downgrade).

digital_ocean_ghost_config

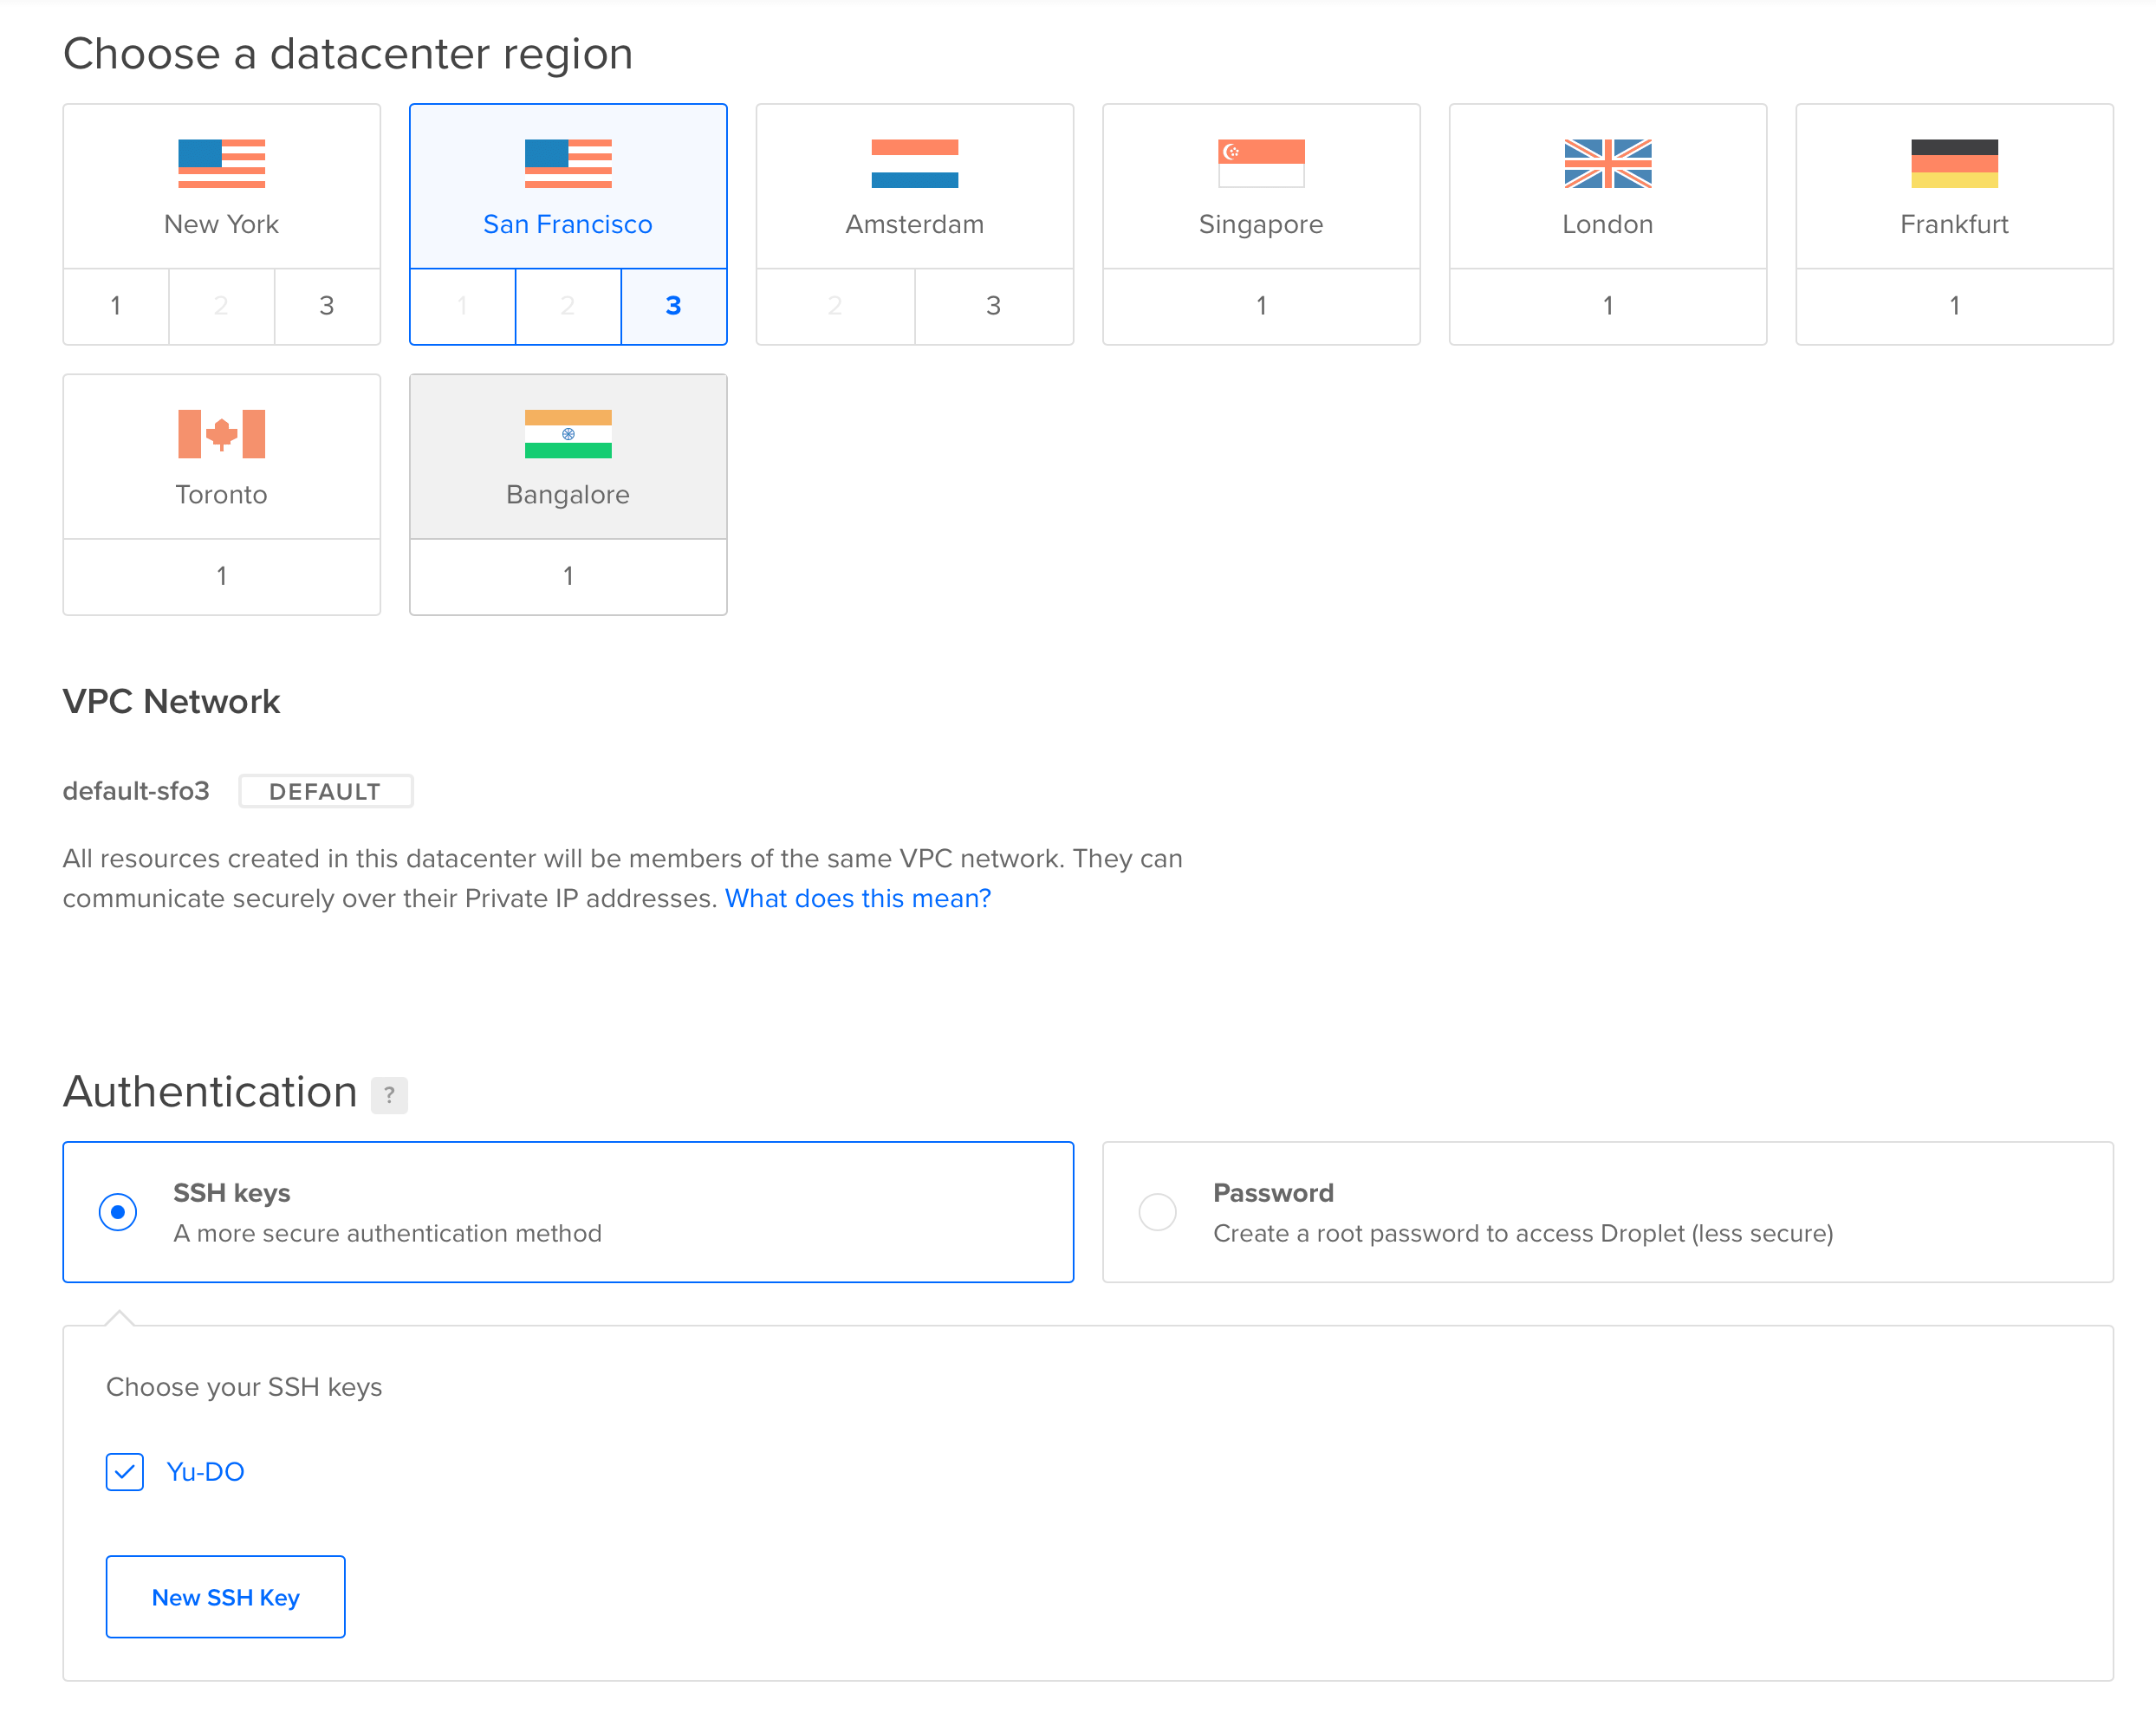
Choose the host instance region. I chose the US region, but you can choose according to your needs. Also, select the SSH configuration we added earlier for convenient access later.

digital_ocean_ghost_region

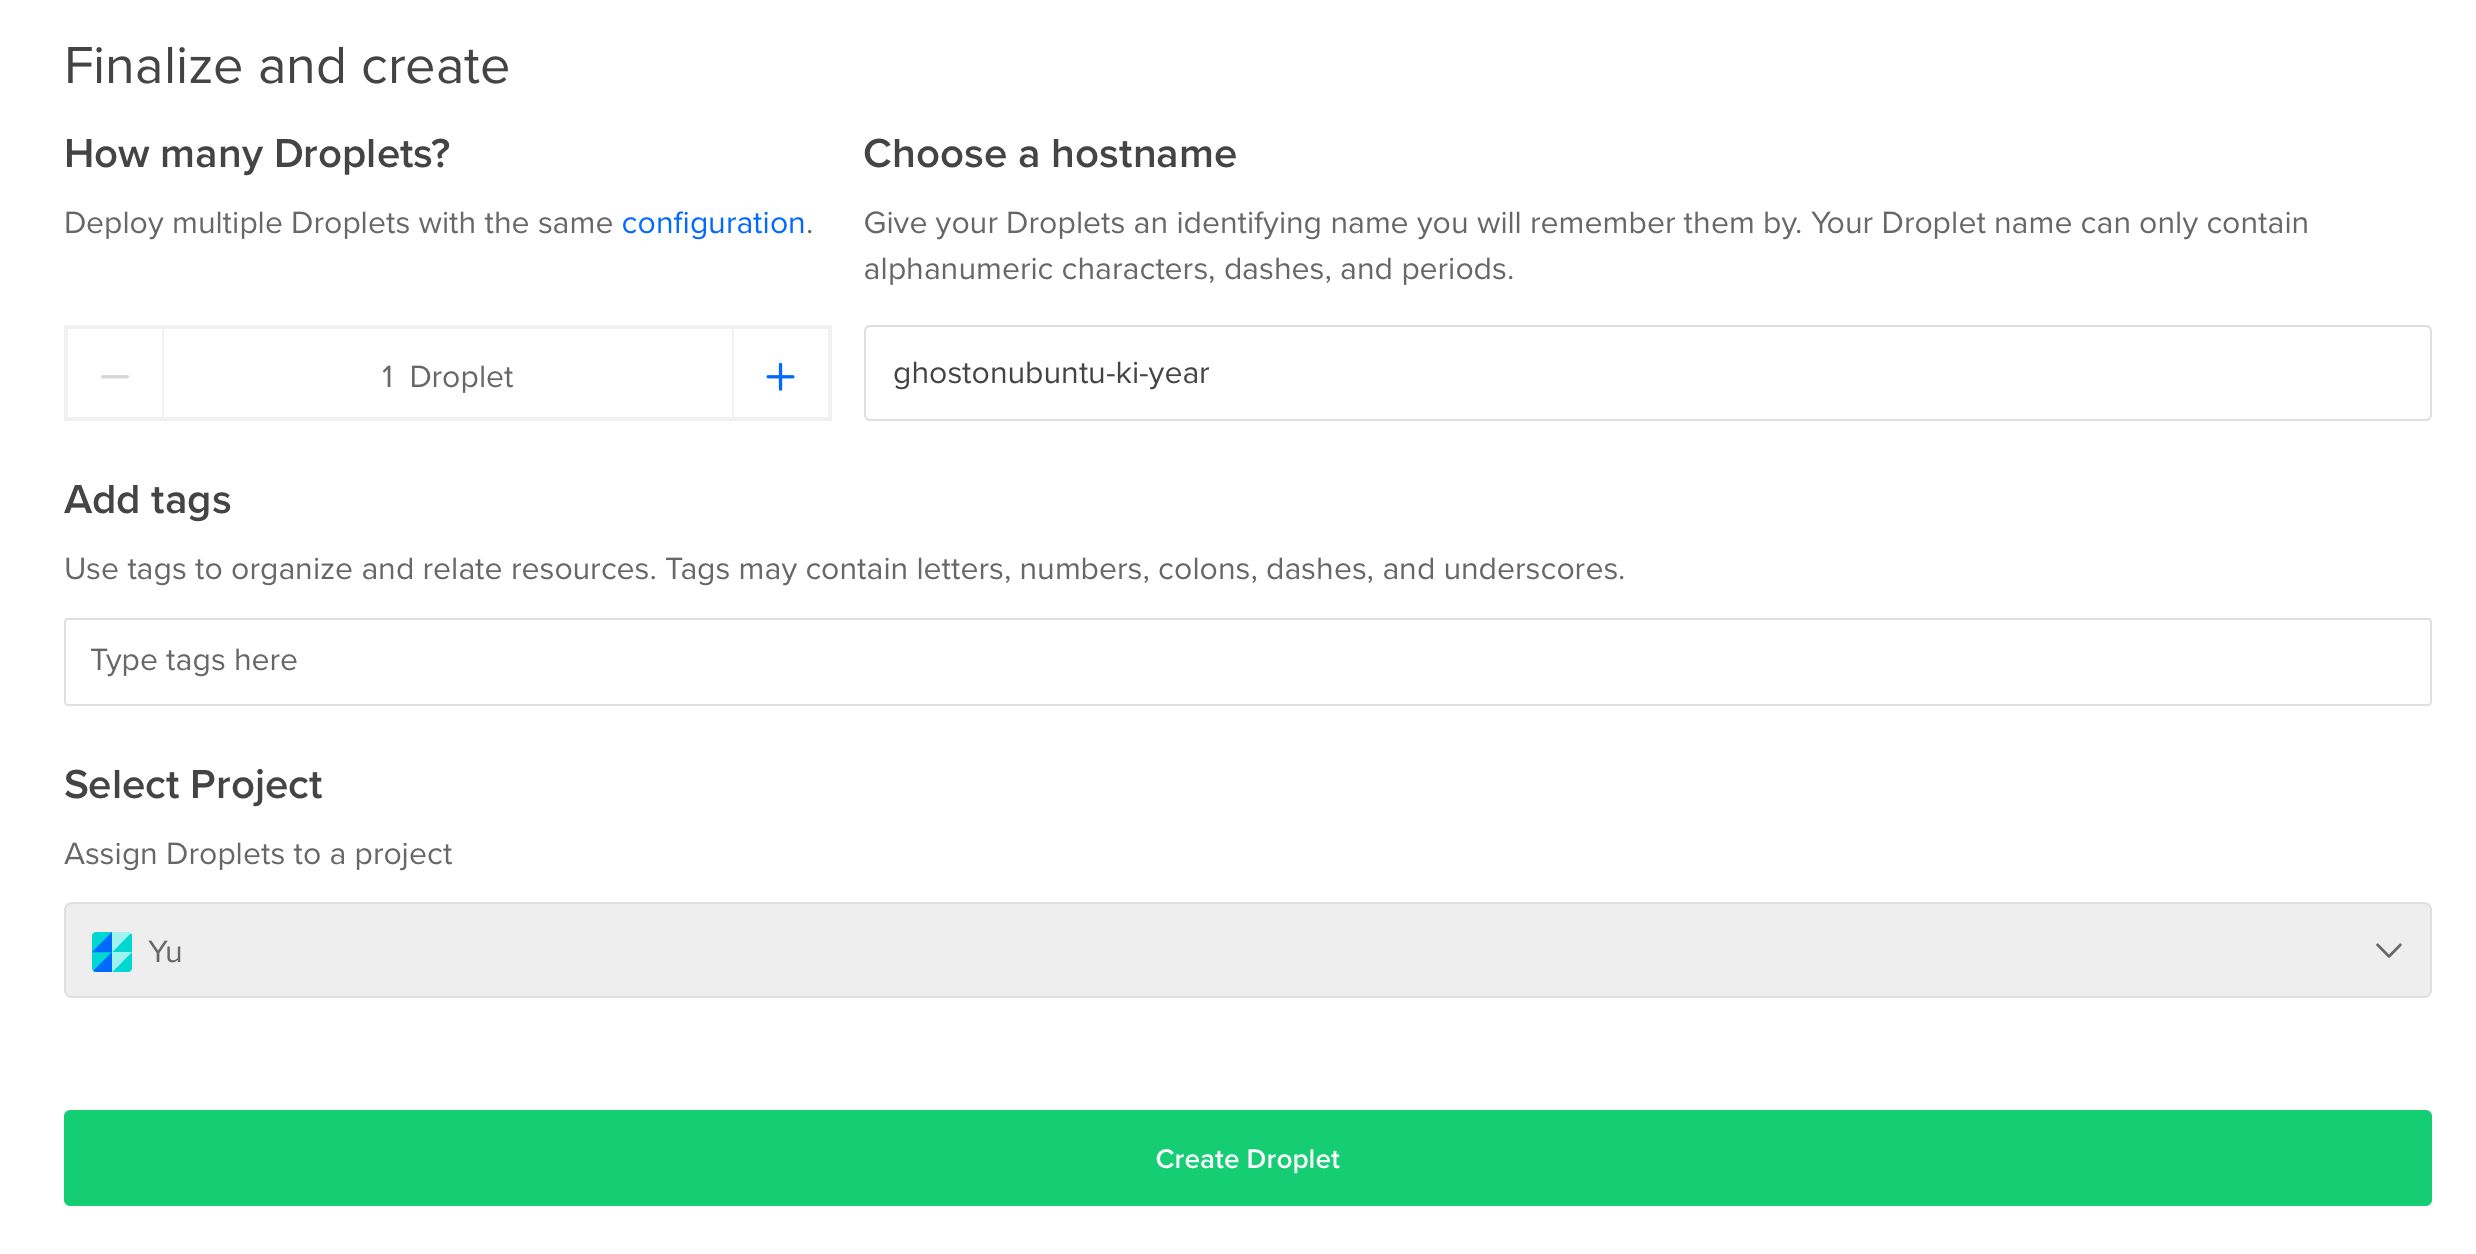
After completing the configuration selection, we choose the quantity, name, and click Create Droplet.

digital_ocean_ghost_create

Wait for Digital Ocean to prepare the host, which takes about a few minutes to complete.

digital_ocean_ghost_done_hide

Configure Domain Name Resolution

Because Ghost needs to configure HTTPS, and for the convenience of users to access, we need to set up DNS resolution for the newly created server.

Log in to Cloudflare, select the domain we just registered, select the DNS tab on the left, and configure A record resolution (generally need to configure root resolution and www resolution). The operation is similar for other domain hosting websites.

cloudflare_dns_config

Domain SSL/TLS Configuration (Optional)

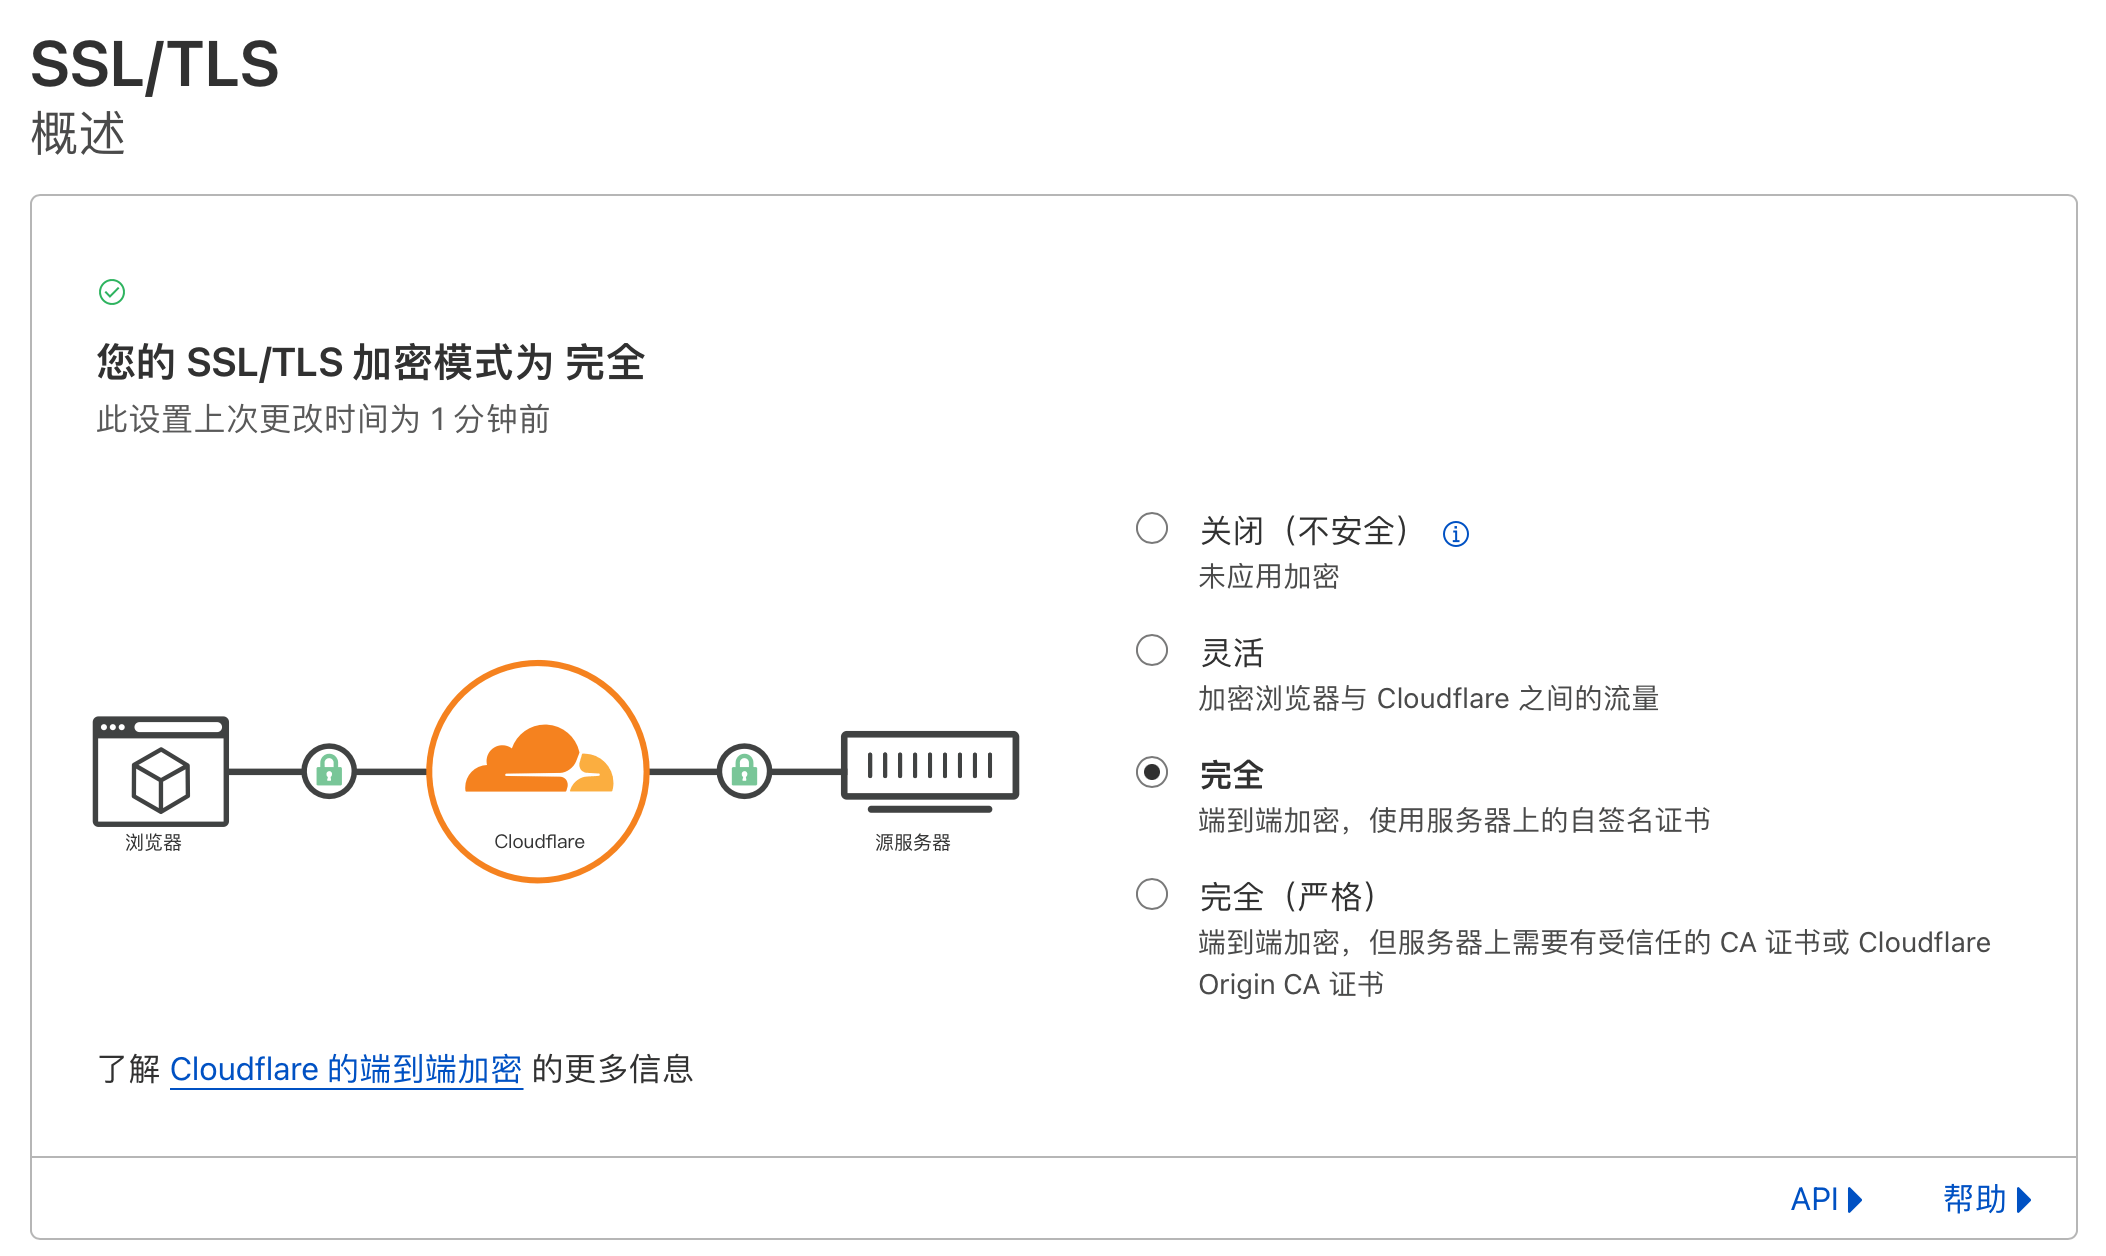
If using Cloudflare for hosting, you can choose to configure the SSL/TLS encryption mode to Full for enhanced security.

cloudflare_ssl_config

One-Click Installation of Ghost Service

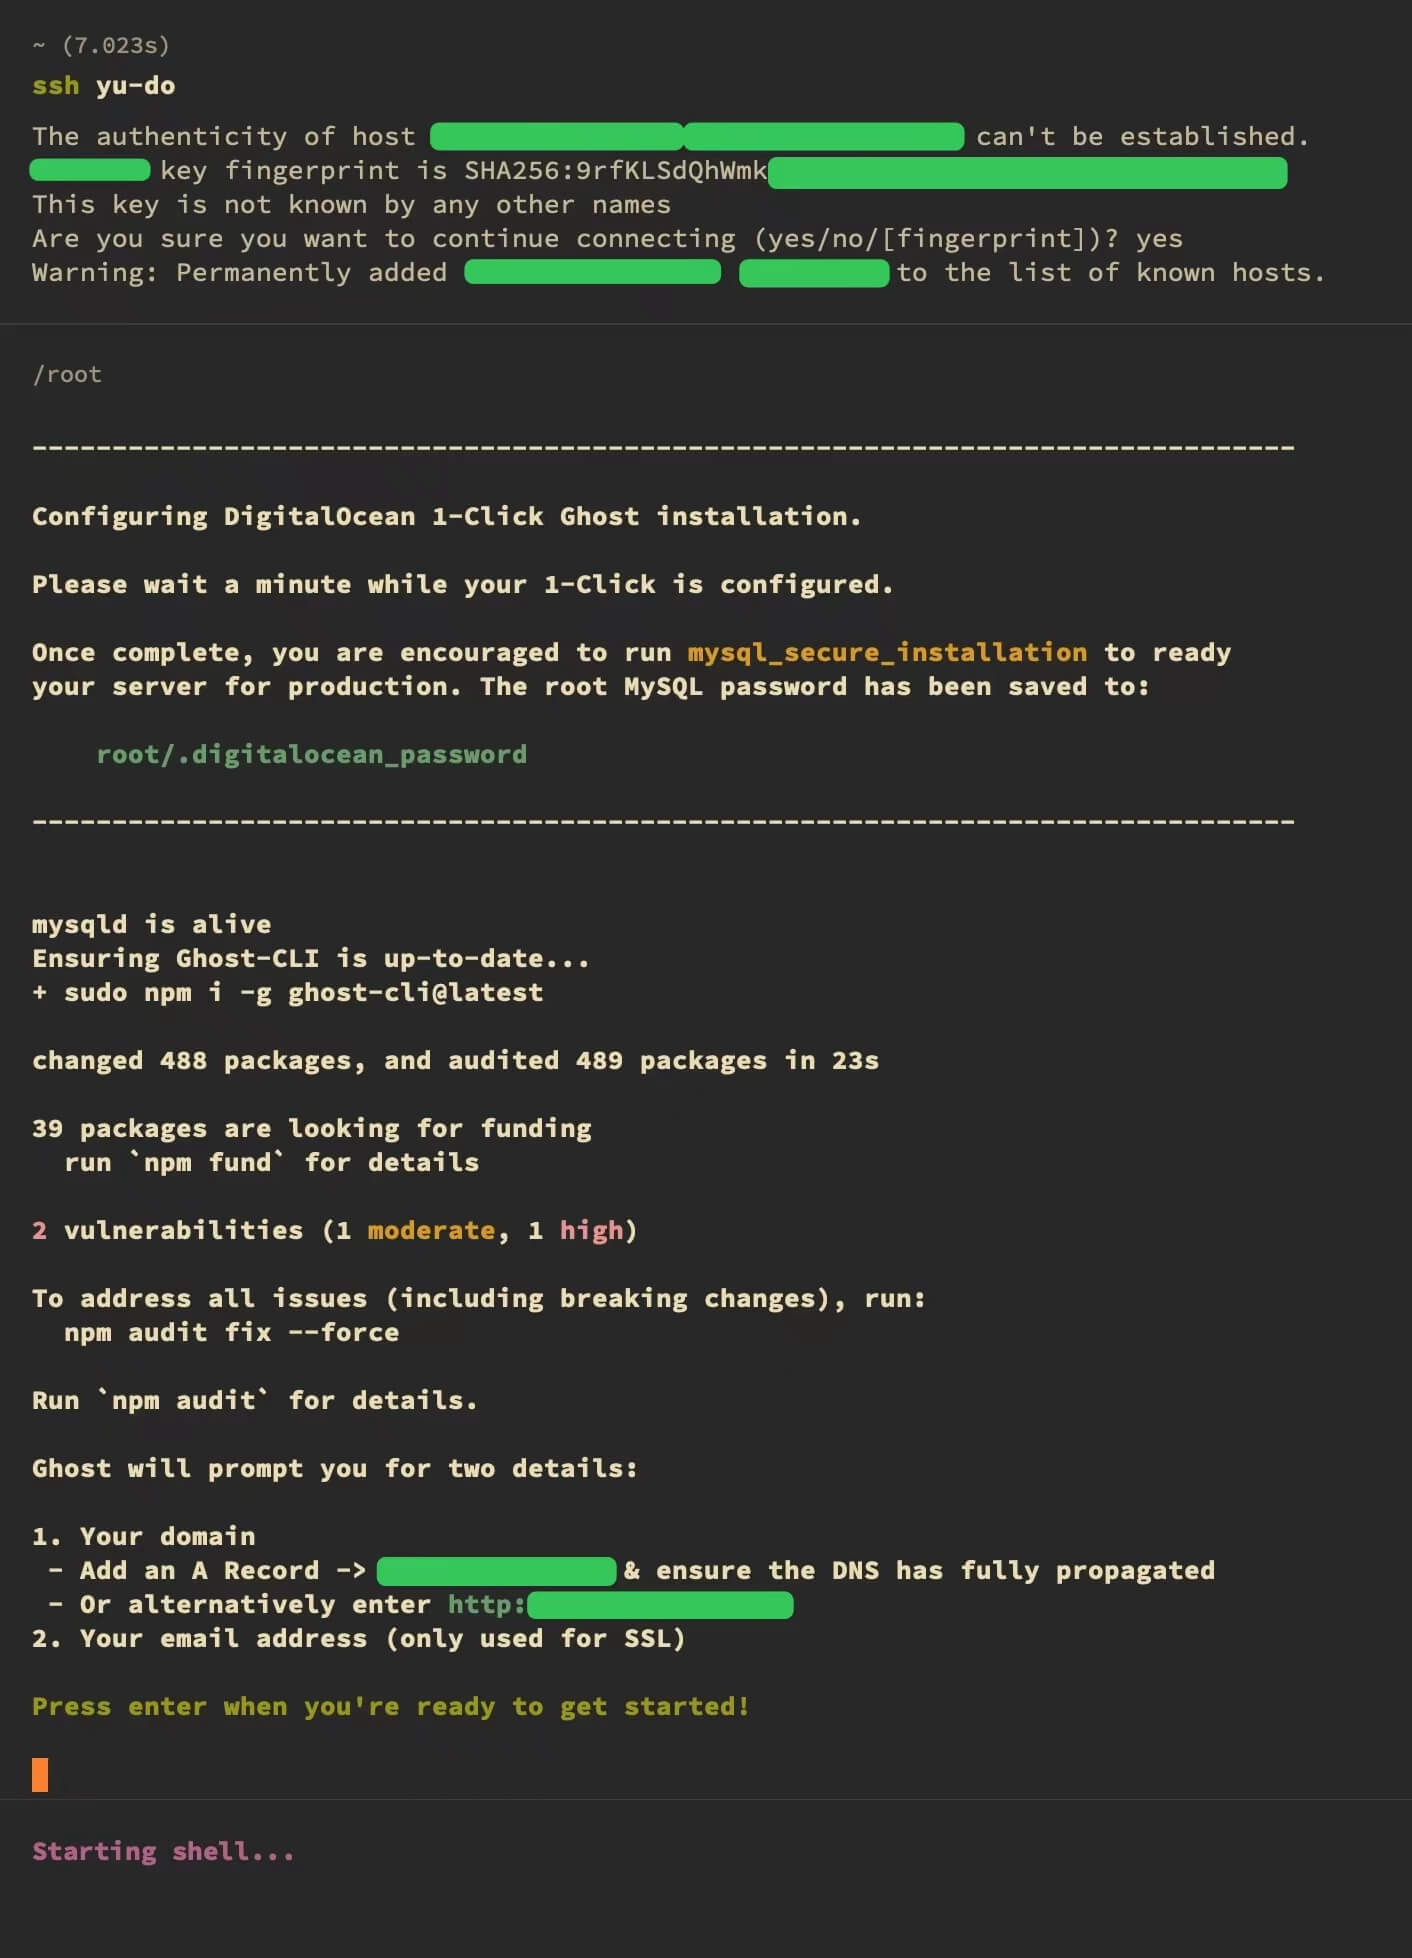
After completing the domain resolution, we can connect to the host through the Digital Ocean console or other terminal tools to perform one-click installation.

ghost_one_key_install

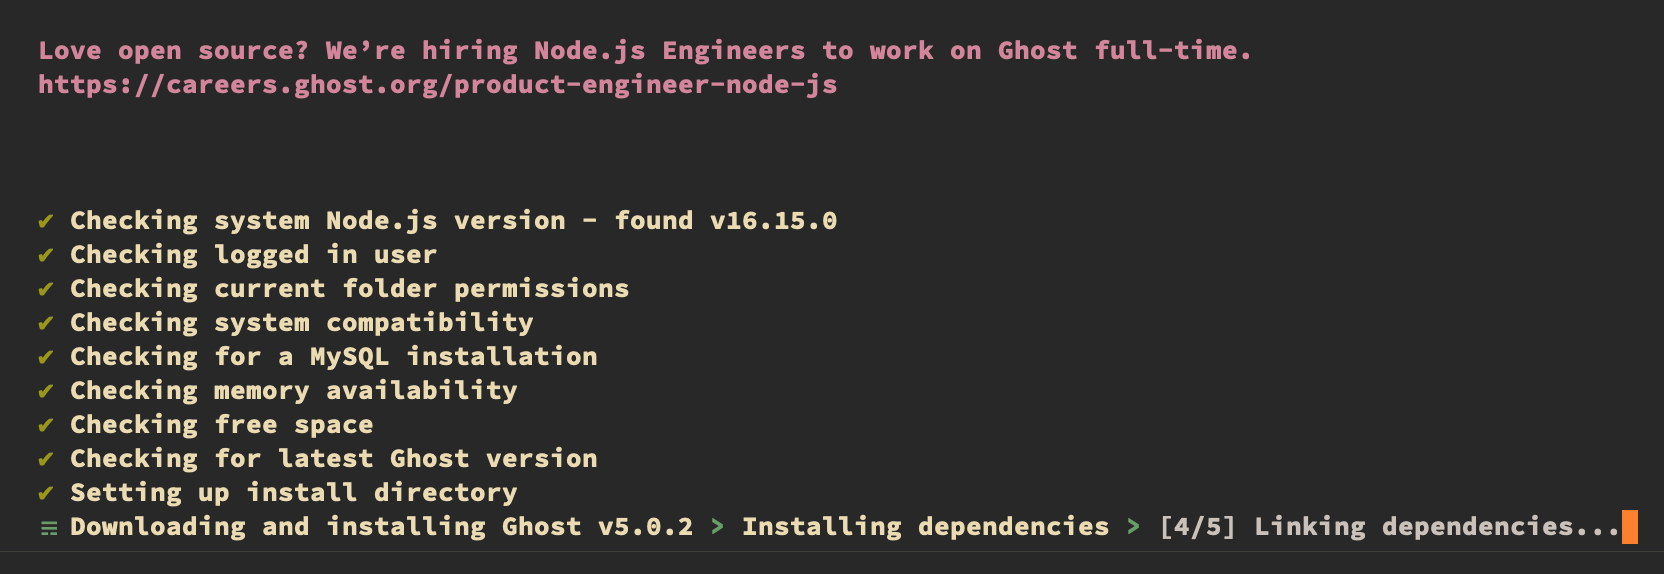
After pressing Enter, the script will automatically start installing the service and various dependencies.

ghost_start_install

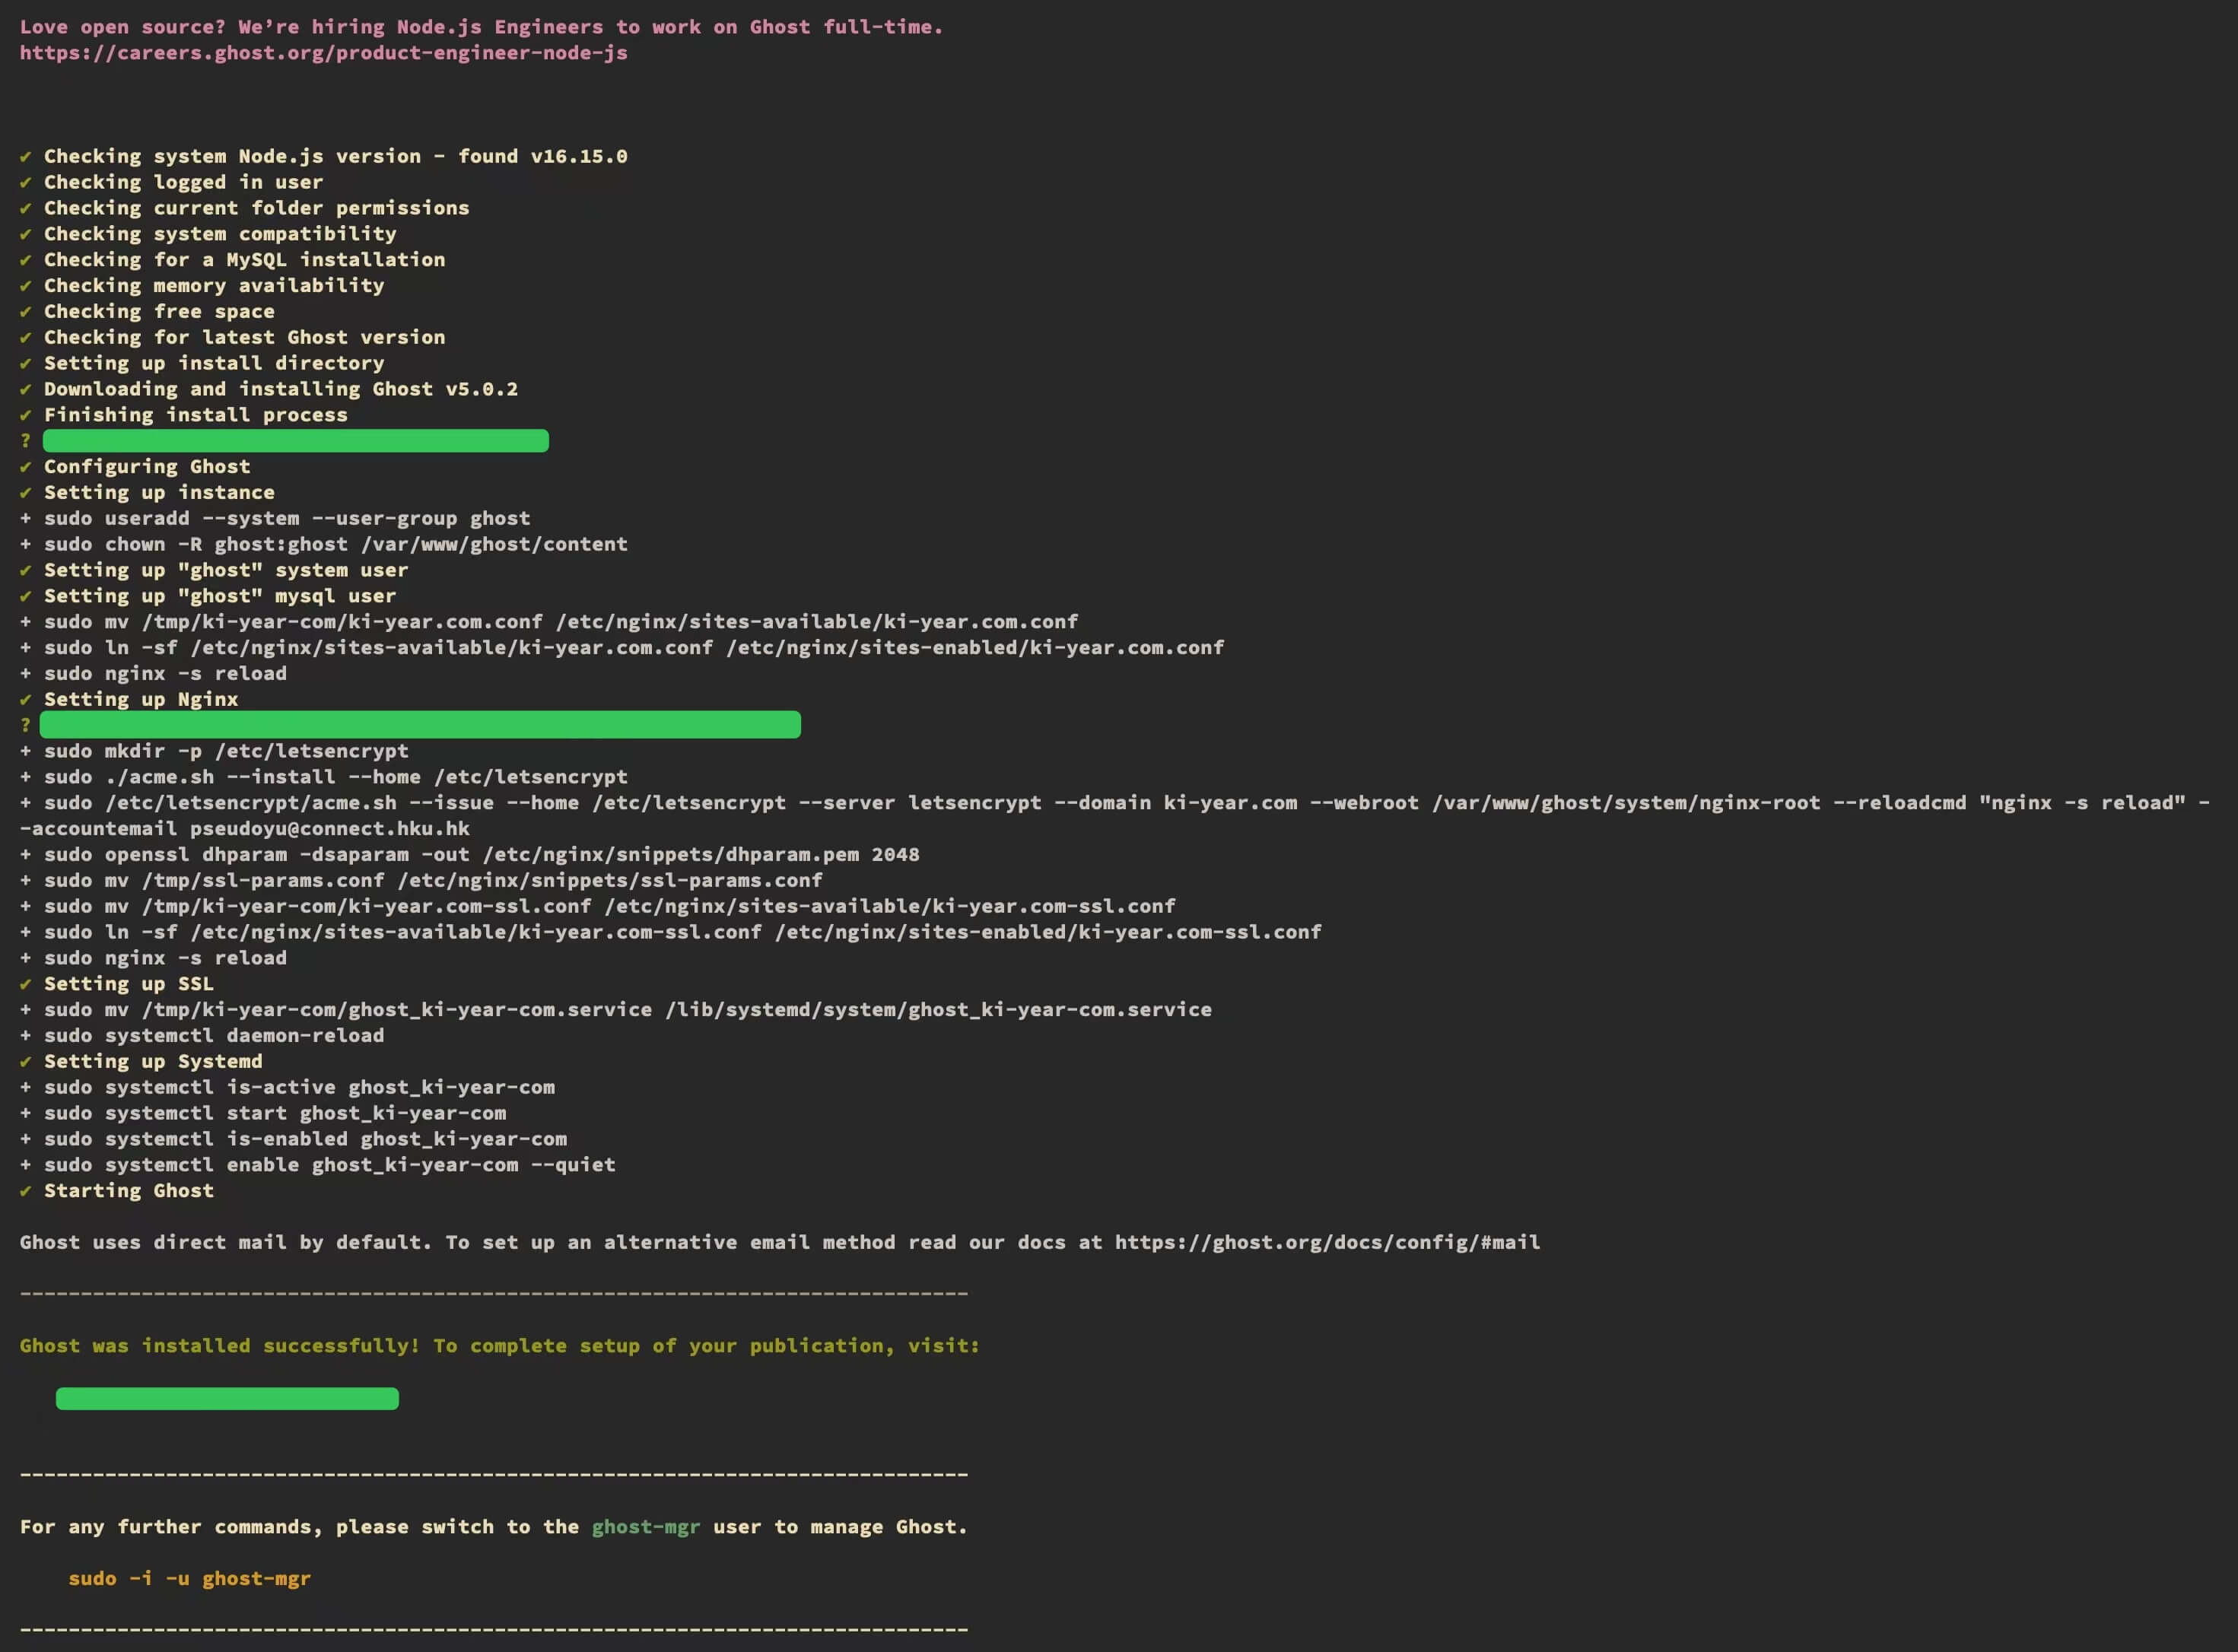
The installation is command-line interactive. We only need to input two custom configurations:

  • Enter your blog URL
  • Enter your email (For SSL Certificate)

Enter your domain name and email at these two points, then wait for the installation to complete.

ghost_install_config

Accessing the Website

After the script execution is complete, we can access the Ghost website.

  • https://{your domain}/ghost, admin interface
  • https://{your domain}, website address

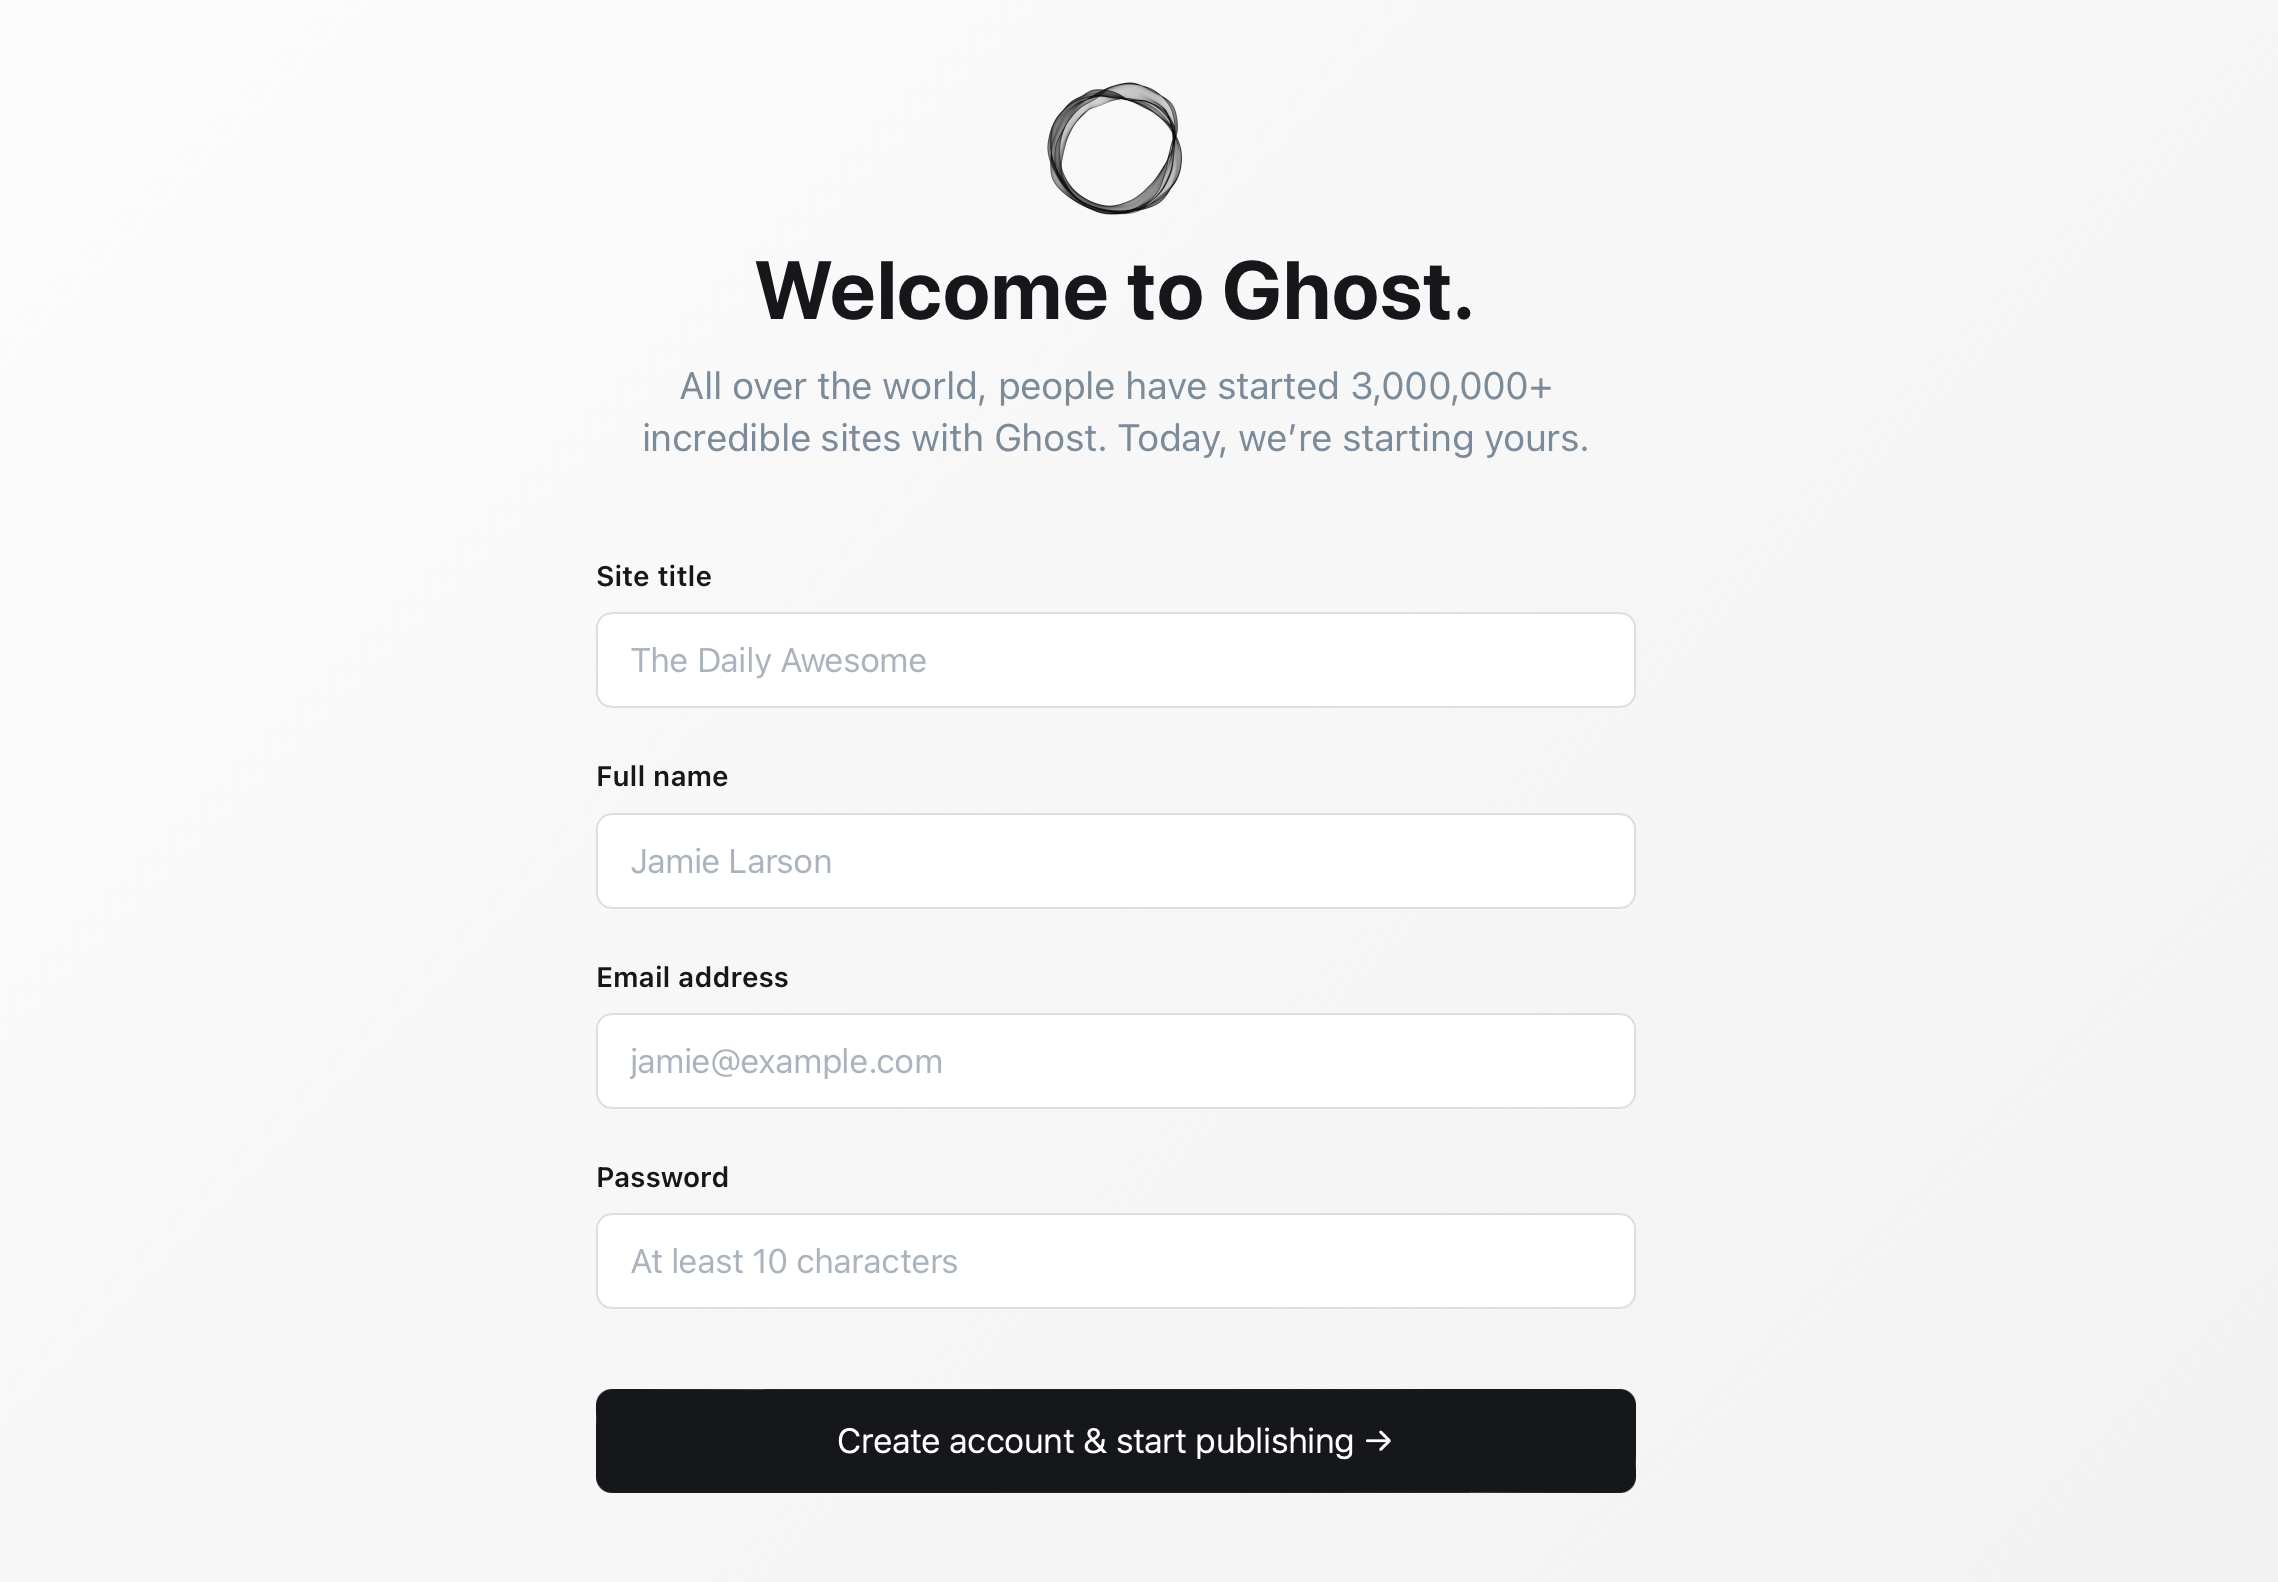
The first login will require registering an admin account. Log in after registration.

ghost_login

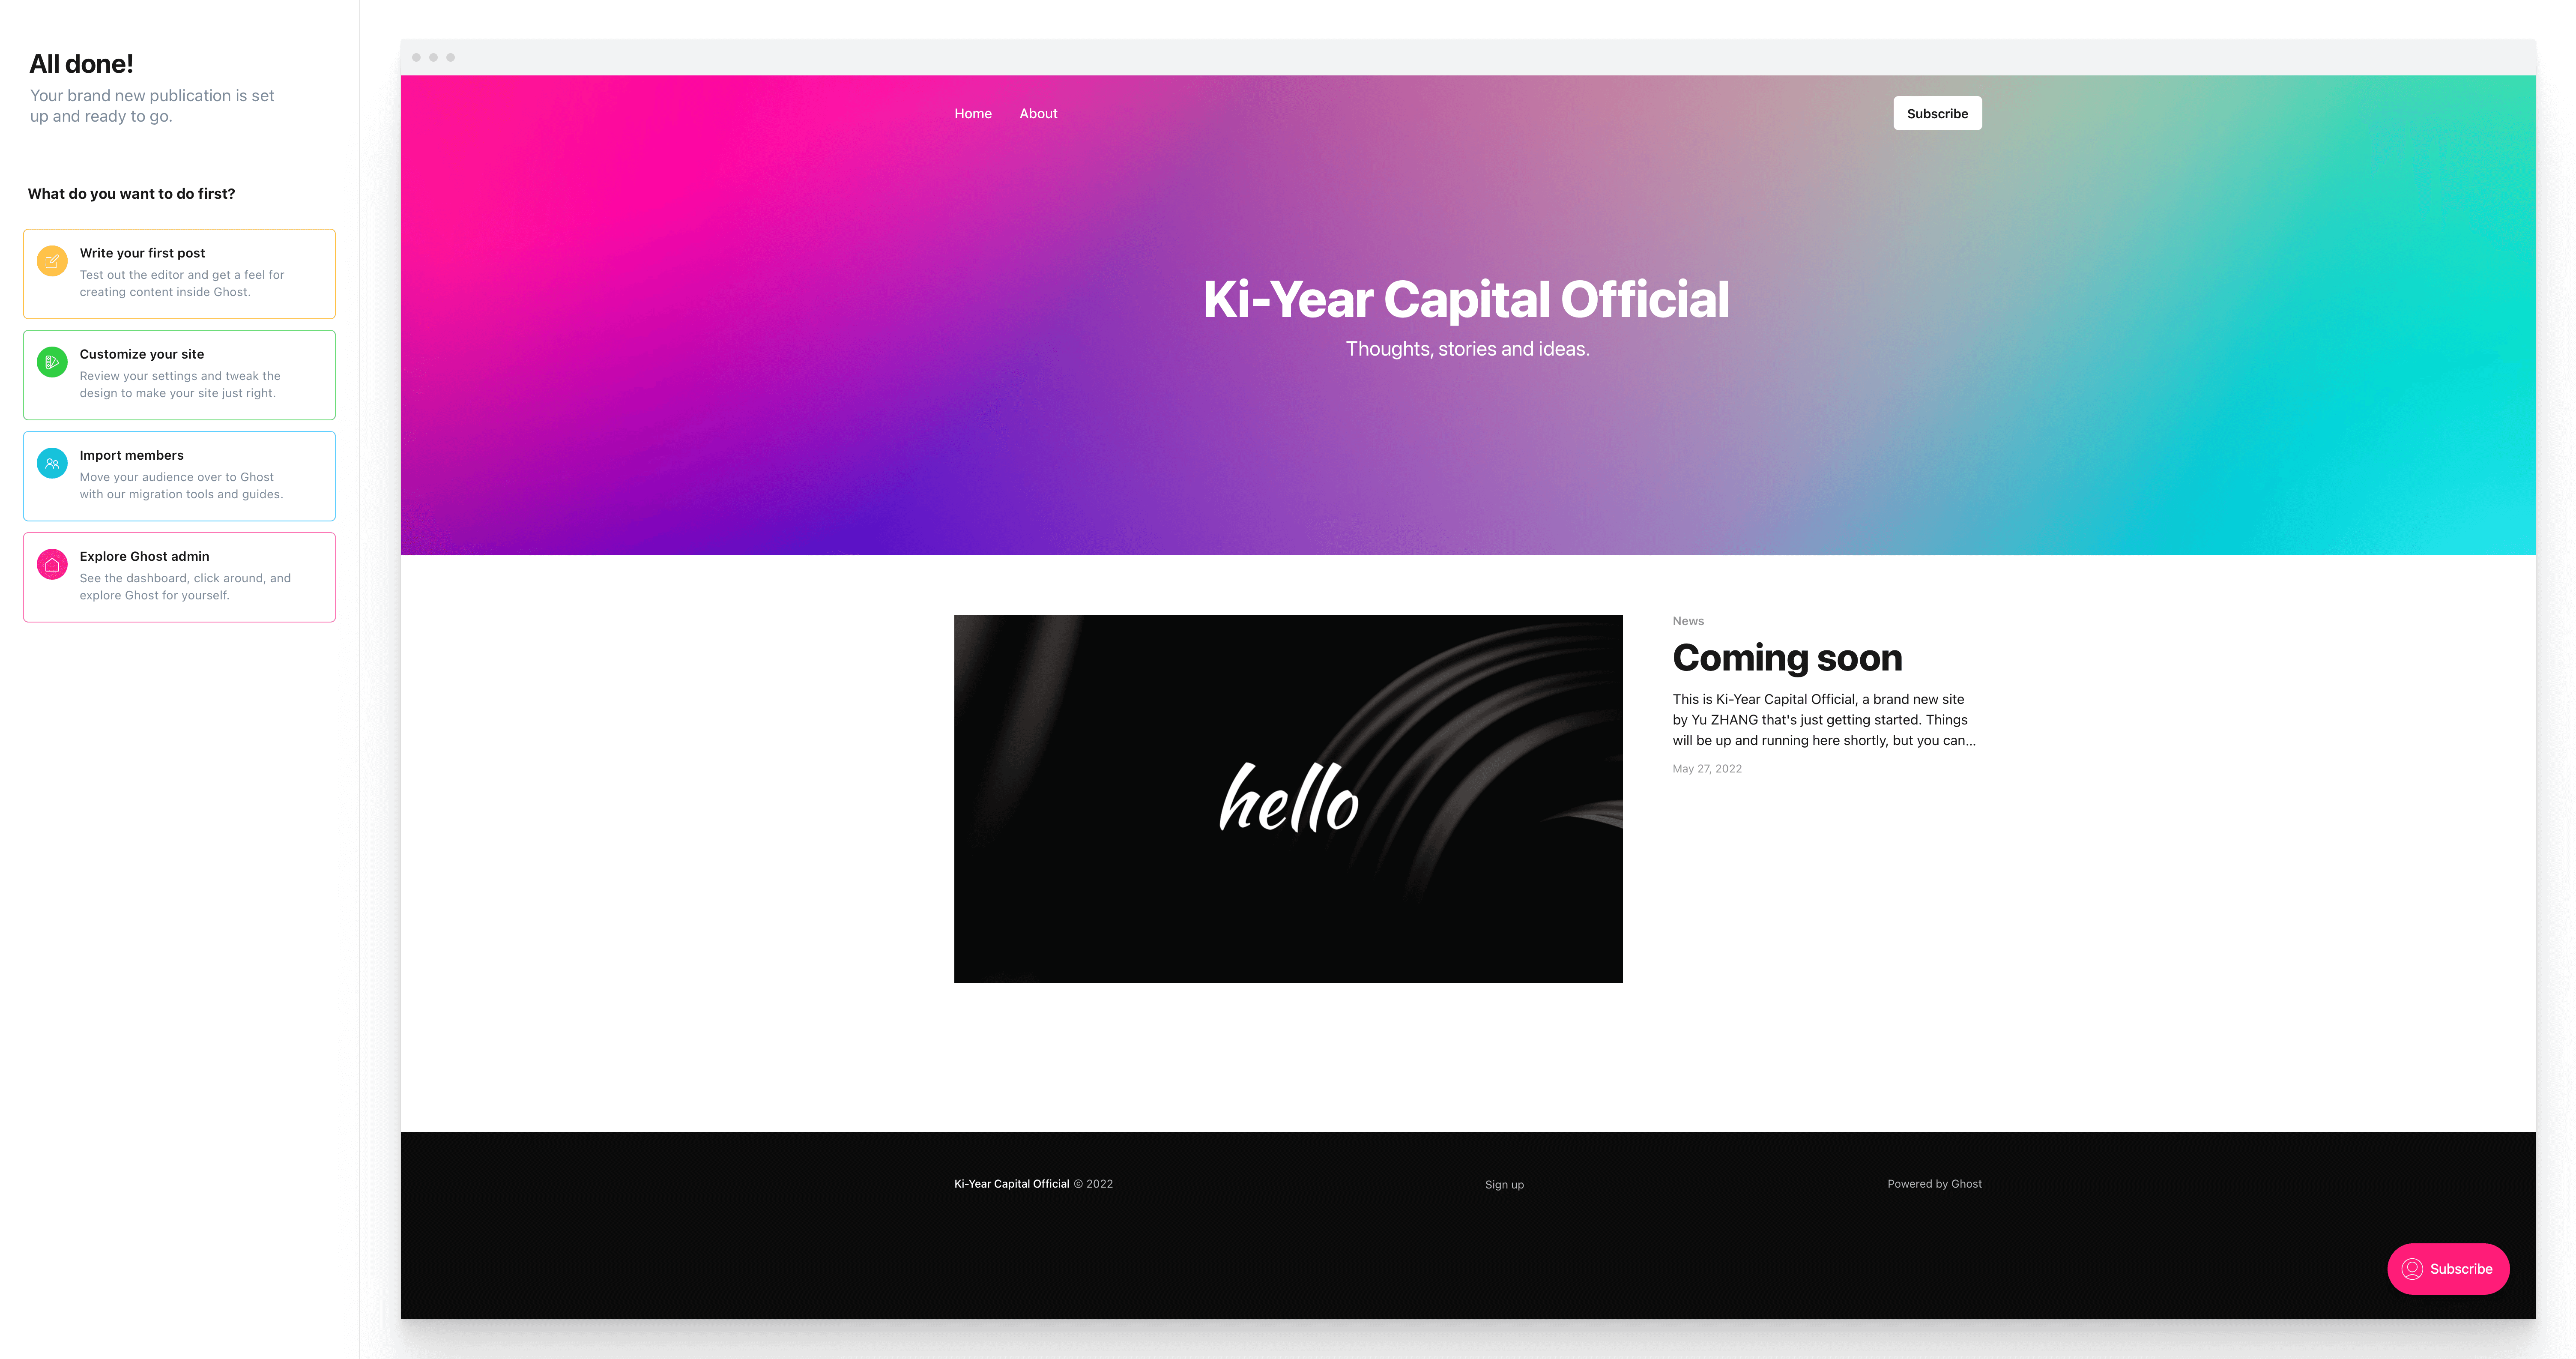
After logging in, you can see the very attractive Ghost admin page.

ghost_dashboard

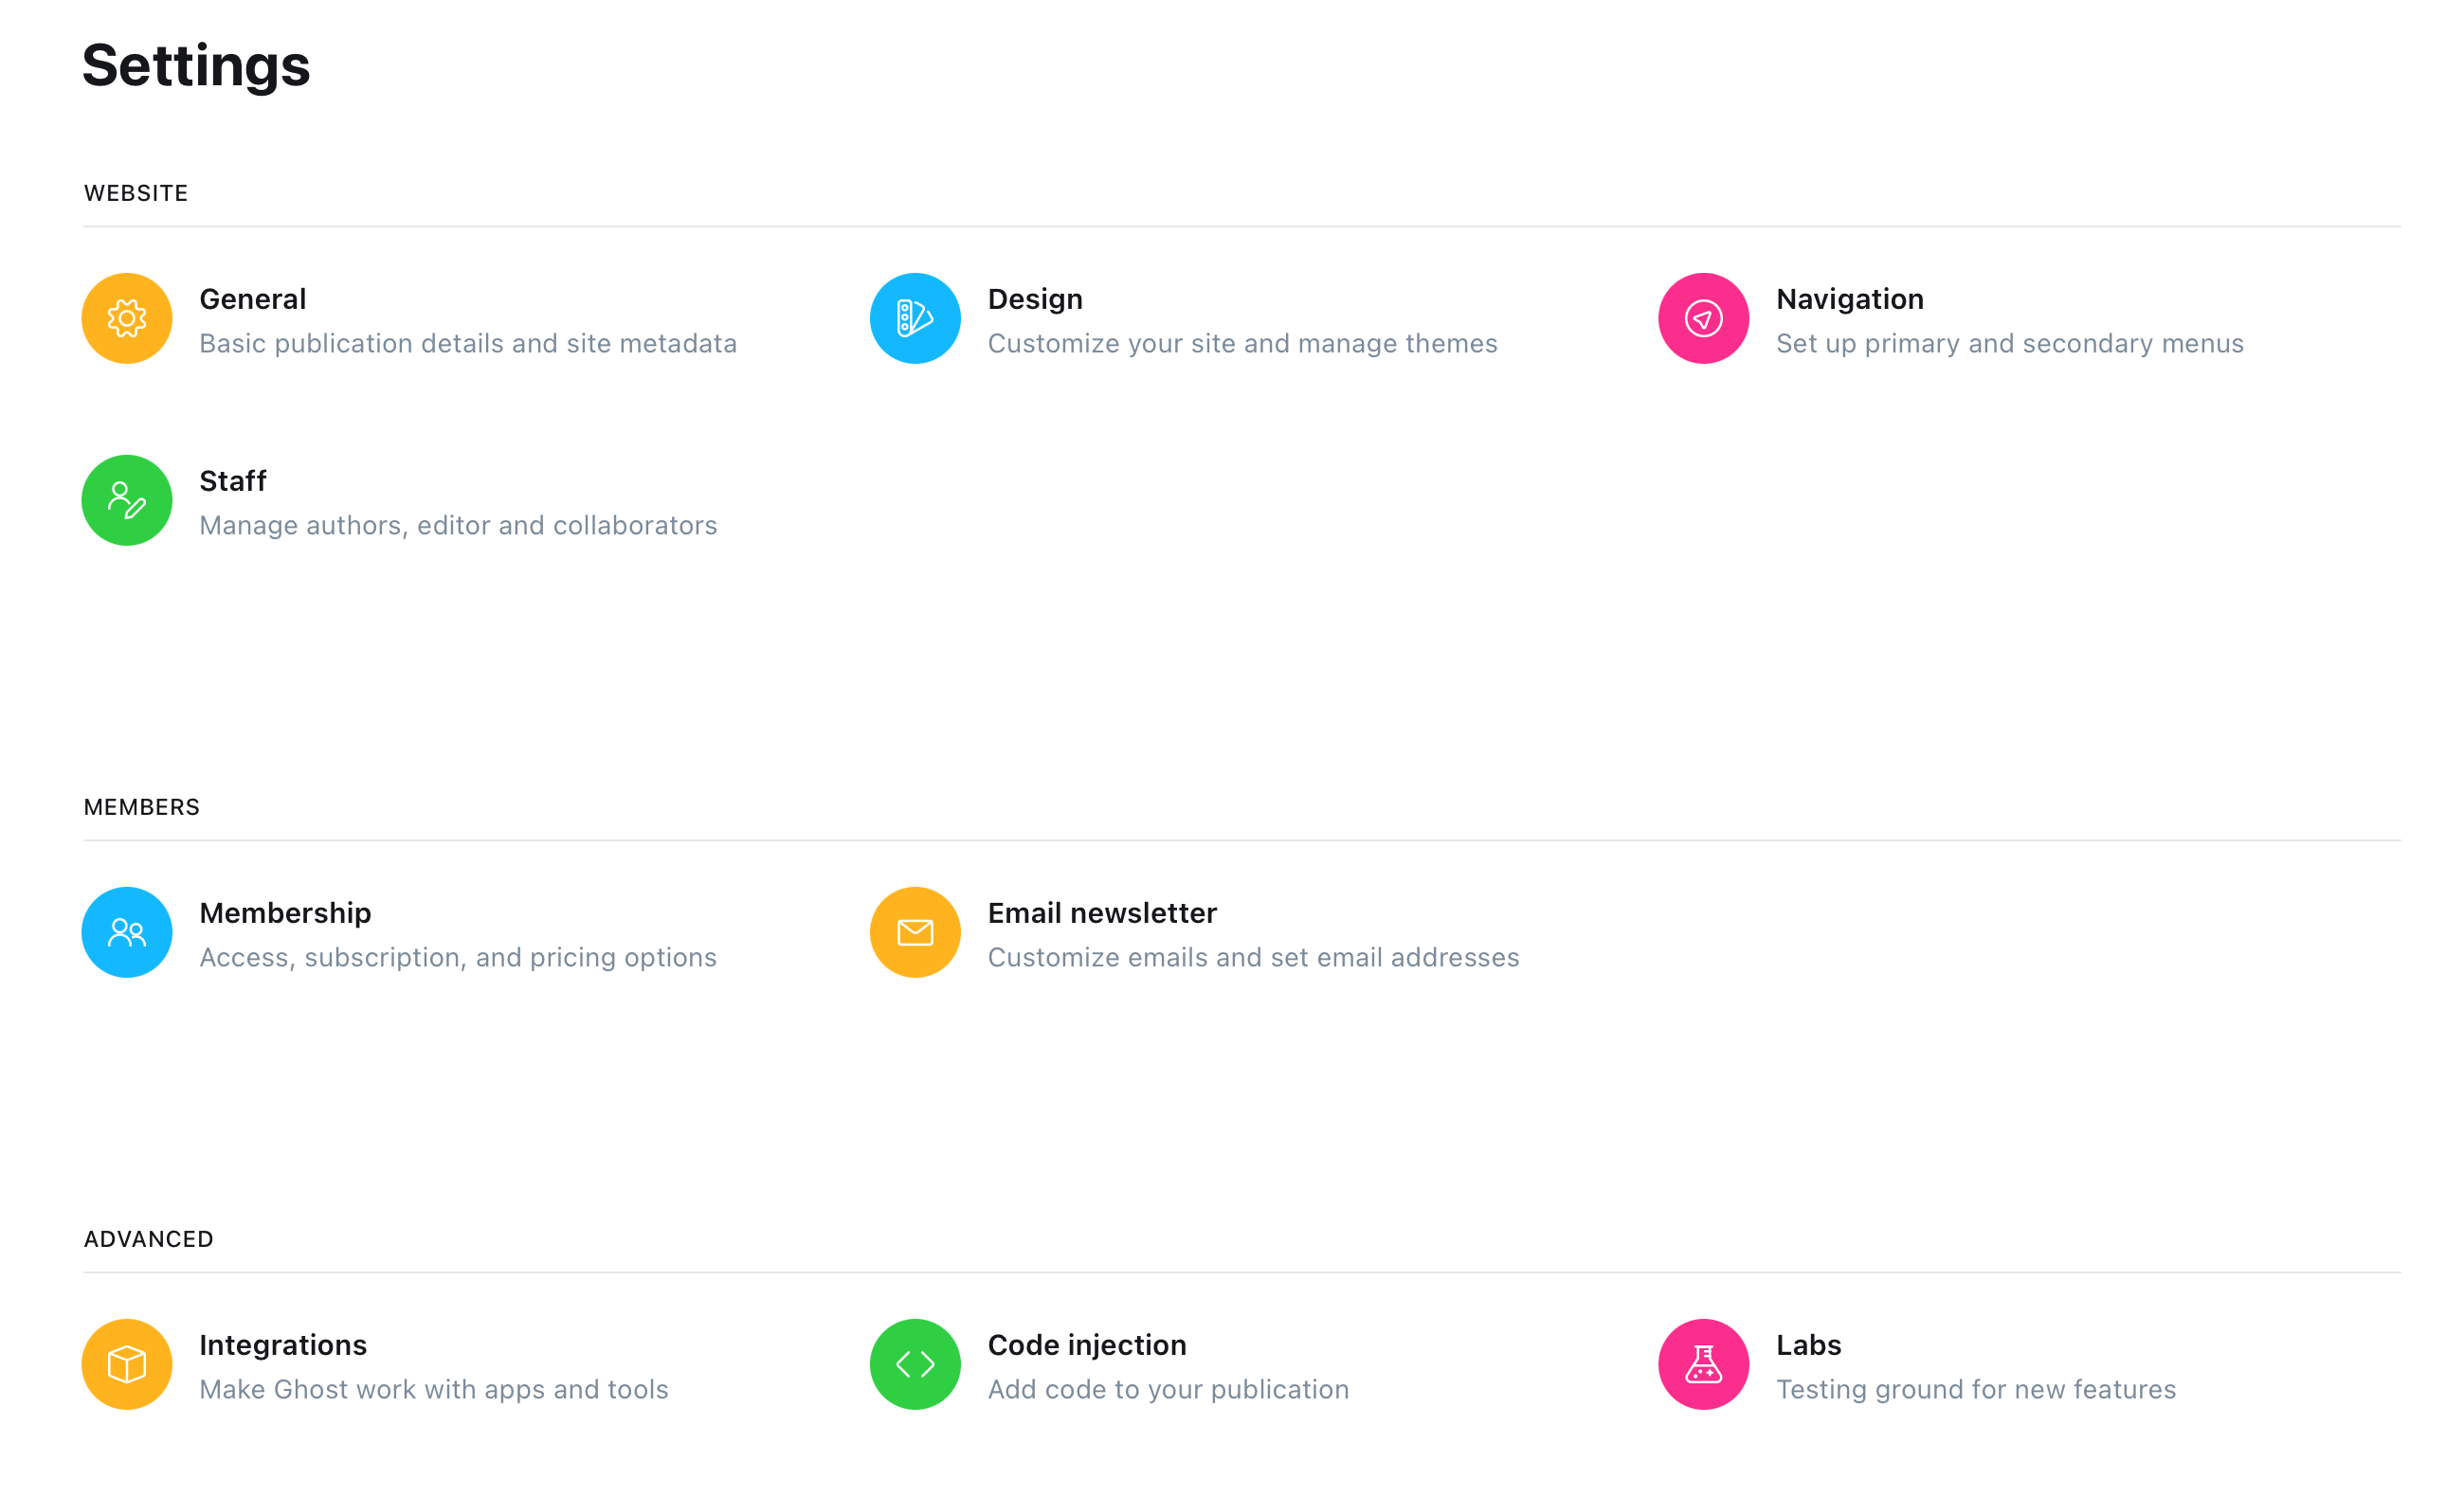
Ghost provides many customizable configuration options that can be adjusted according to your website’s needs.

ghost_setting

Conclusion

The above is my experience using Ghost’s officially recommended Digital Ocean hosting method to deploy my own Ghost website. After upgrading to 5.0, Ghost can meet the needs of most websites and has better support for commercialization and data processing. It’s a good choice for personal blogs and small teams. I hope this helps everyone.

References

  1. Ghost Official Website
  2. Digital Ocean Official Website
  3. Free Personal Blog System Setup and Deployment Solution (Hugo + GitHub Pages + Cusdis)
  4. Building a Free Personal Blog Data Statistics System from Scratch (umami + Vercel + Heroku)
  5. Lightweight Open Source Free Blog Comment System Solution (Cusdis + Railway)

Related Posts

2024-07-01
Weekly Review #63 - An Unpleasant Flower Ordering Experience, Merchants and Consumers, and the Increasingly AI-like Humans
2022-05-29
Hugo + GitHub Action: Building Your Automated Blog Publishing System
2022-05-24
Lightweight Open Source Free Blog Comment System Solution (Cusdis + Railway)
2022-05-21
Building a Free Personal Blog Analytics System from Scratch (umami + Vercel + Heroku)
2022-03-24
Free Personal Blog System Setup and Deployment Solution (Hugo + Cloudflare Pages + Cusdis)
pseudoyu

Author

pseudoyu

Backend & Smart Contract Developer, MSc Graduate in ECIC(Electronic Commerce and Internet Computing) @ The University of Hong Kong (HKU). Love to learn and build things. Follow me on GitHub


Comments