前言 #
在之前的《Solidity 智能合约开发 - 基础》中,我们学习了 Solidity 的基本语法,并且了解了可以通过 Brownie 与 HardHat 等框架进行调试。而另一篇《Solidity 智能合约开发 - 玩转 Web3.py》中我们也通过 Web3.py 直接与我们本地的 Ganache 节点进行交互了。
原本因为之前比较熟悉 Python 的使用,所以想使用 Brownie 框架进行后续开发。然而经过了一番调研,业界还是使用 HardHat 框架居多,也有更多拓展,且我关注的 Solidity 教程也更新了 Javascript 版本,于是还是打算学习一下。
为了更好了解其原理,也为我们后续更好使用框架打好基础,我们这次通过 ethers.js 来与我们部署在 Alchemy 平台上的 Rinkeby 测试网络进行交互。实现了基础的合约编译、部署至 Rinkeby 网络、与合约交互等功能。
可以点击这里访问本测试 Demo 代码仓库。
ethers.js #
ethers.js 是 Javascript 的一个开源库,可以与以太坊网络进行交互,其 GitHub 地址为 ethers.io/ethers.js,可以访问其官方文档进行使用。
安装 #
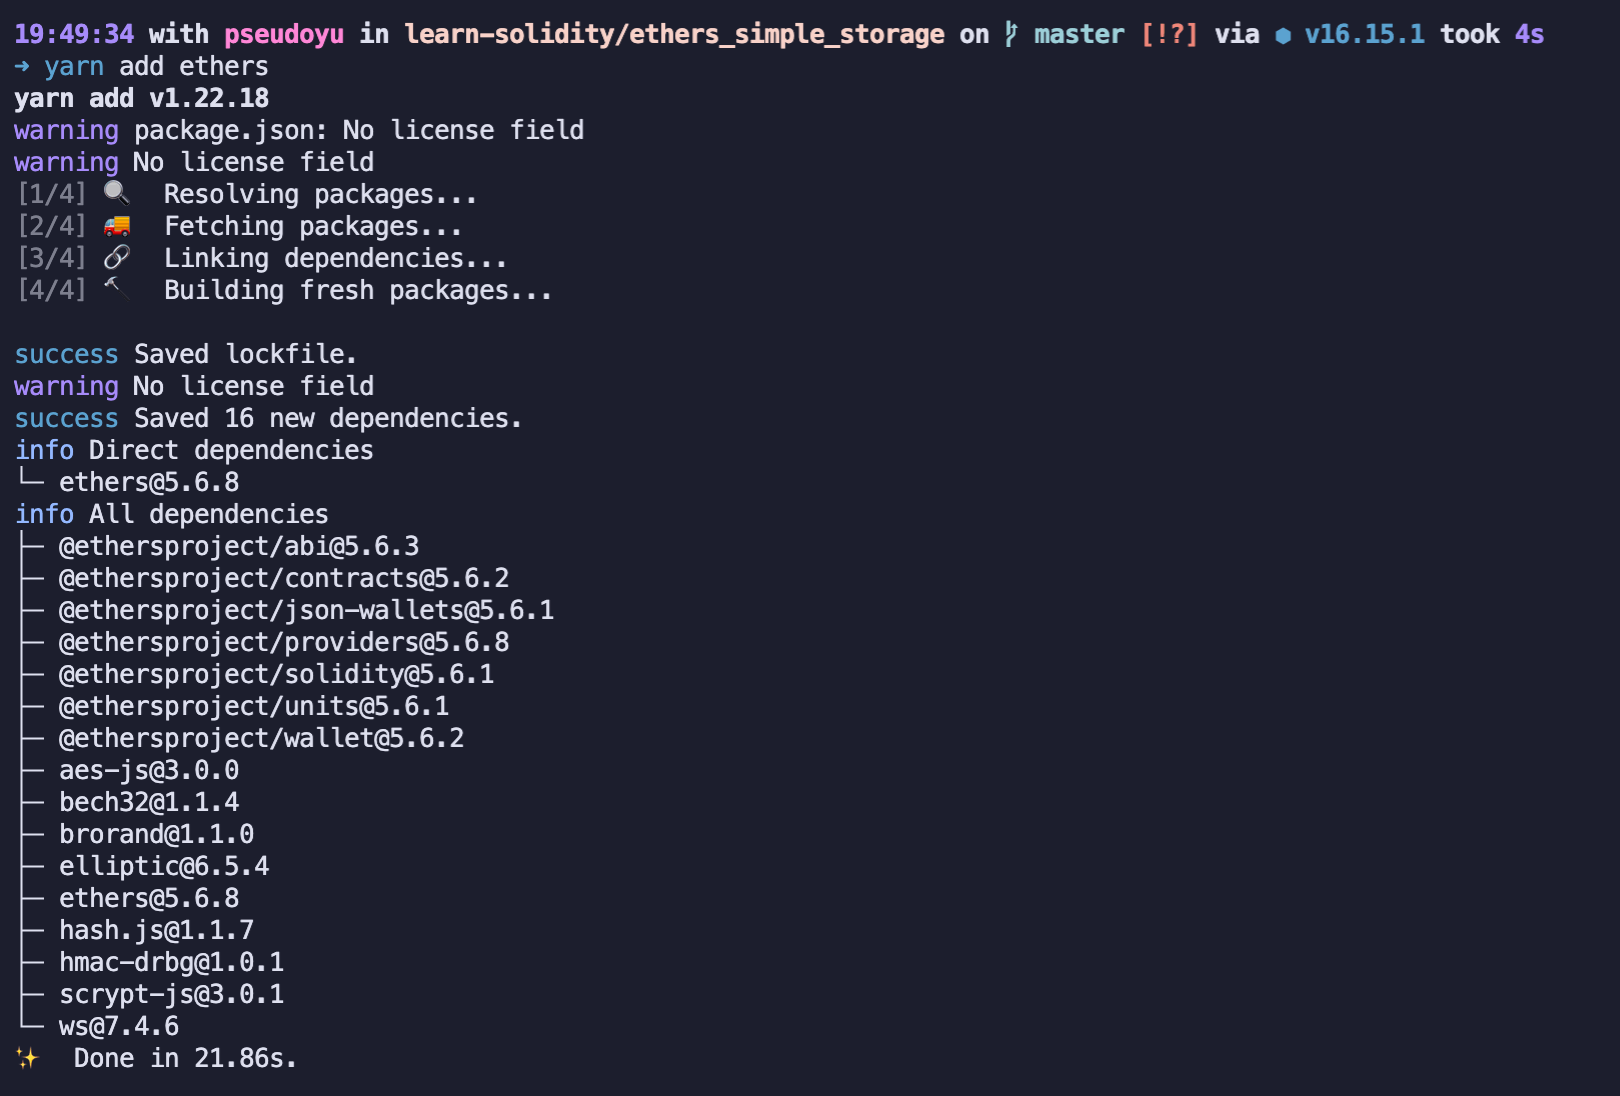
我们可以通过 yarn 安装 ethers.js,如下:
yarn add ethers
使用 #
使用 require 导入库即可使用
const ethers = require('ethers')Solidity 合约编译 #
合约源码 #
// SPDX-License-Identifier: MIT

pragma solidity ^0.8.7;

contract SimpleStorage {
    uint256 favoriteNumber;
    bool favoriteBool;

    struct People {
        uint256 favoriteNumber;
        string name;
    }

    People public person = People({favoriteNumber: 2, name: "Arthur"});

    People[] public people;

    mapping(string => uint256) public nameToFavoriteNumber;

    function store(uint256 _favoriteNumber) public returns (uint256) {
        favoriteNumber = _favoriteNumber;
        return favoriteNumber;
    }

    function retrieve() public view returns (uint256) {
        return favoriteNumber;
    }

    function addPerson(string memory _name, uint256 _favoriteNumber) public {
        people.push(People({favoriteNumber: _favoriteNumber, name: _name}));
        nameToFavoriteNumber[_name] = _favoriteNumber;
    }
}
这是一个简单的存储合约,通过一个 People 结构体对象来存储人名和他喜欢数字,通过一个数组来存储多个人的信息,并提供了添加、查找方法。
读取合约源文件 #
当我们通过 VSCode 或其他编辑器完成 Solidity 合约编写与语法检查后,需要编译合约为 abi 文件与 bytecode。
我们可以通过 yarn 安装 solc 命令行工具进行编辑,并且可以选择对应版本,命令如下:
yarn add [email protected]安装完成后,,我们可以通过 solcjs 命令来进行编译,命令如下:
yarn solcjs --bin --abi --include-path node_modules/ --base-path . -o . SimpleStorage.sol因为编译合约是一个高频操作,我们可以在 package.json 中配置 compile 脚本命令,如下:
{
  "scripts": {
    "compile": "yarn solcjs --bin --abi --include-path node_modules/ --base-path . -o . SimpleStorage.sol"
  }
}
之后仅需执行 yarn compile 即可生成合约编译文件。
获取编译结果 #
编译完成后会生成 abi 和 bytecode 文件,分别以 .bin 和 .abi 为后缀。
获取 bytecode 与 abi #
Solidity 合约的部署与交互需要 bytecode 与 abi 两个部分,我们可以通过通过以下代码将其写入对应变量供后续操作使用。
const fs = require('fs-extra')

const abi = fs.readFileSync('./SimpleStorage_sol_SimpleStorage.abi', 'utf-8')
const binary = fs.readFileSync('./SimpleStorage_sol_SimpleStorage.bin', 'utf-8')
创建 Rinkeby 测试网络环境(Alchemy) #
智能合约的调试需要将合约部署到实际的链上,我们选择部署到 Alchemy 平台的 Rinkeby 测试网进行后续调试开发,
Alchemy 平台 #
首先我们访问 Alchemy 官网,注册并登录,会看到其 Dashboard,会展示所有已创建的应用。

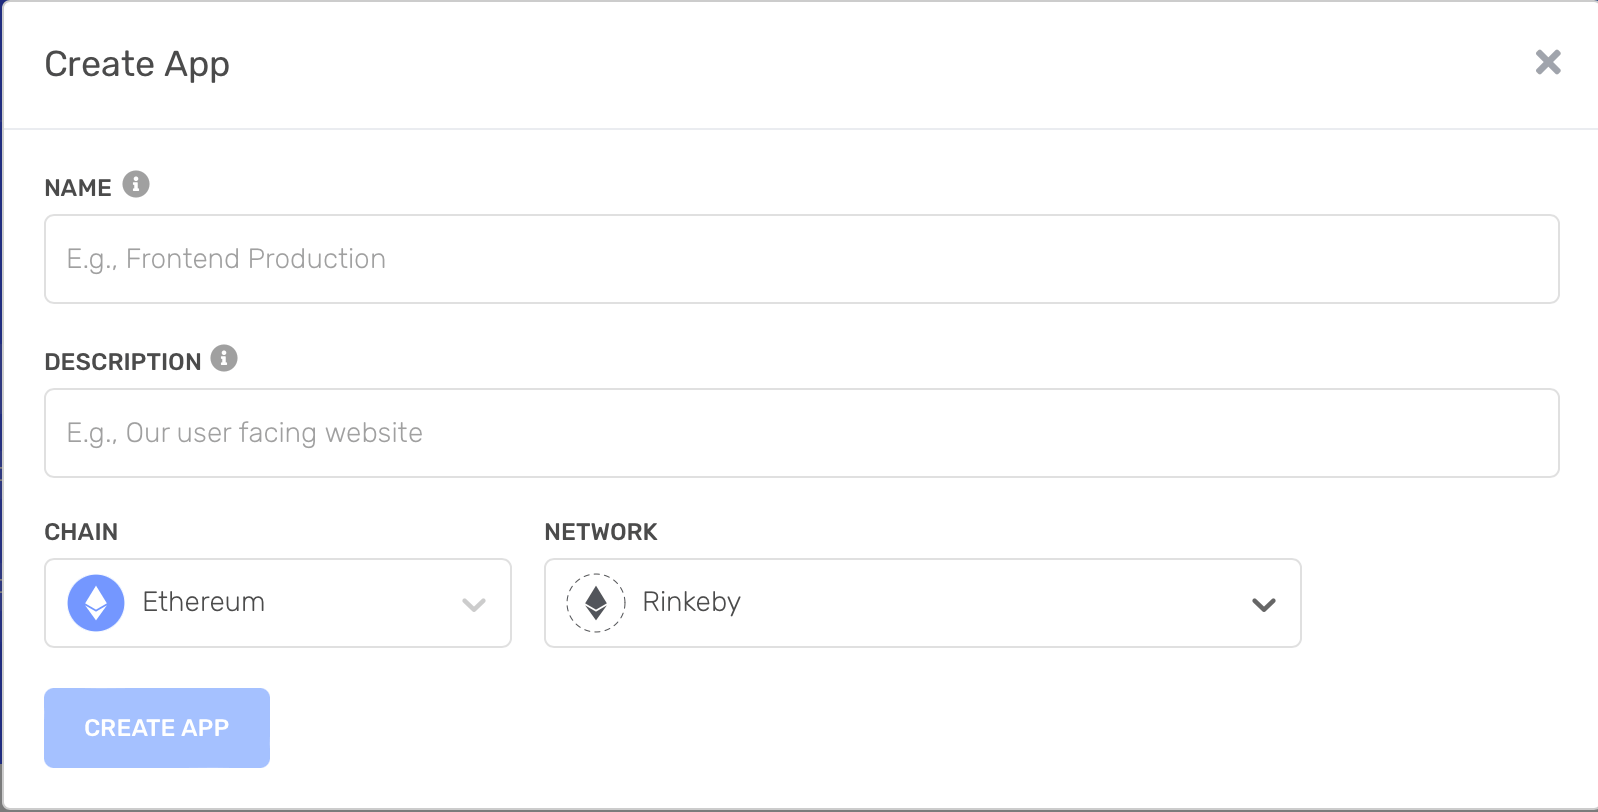
安装完成后选择 Create App 即可快速创建一个 Rinkeby 测试网络节点。

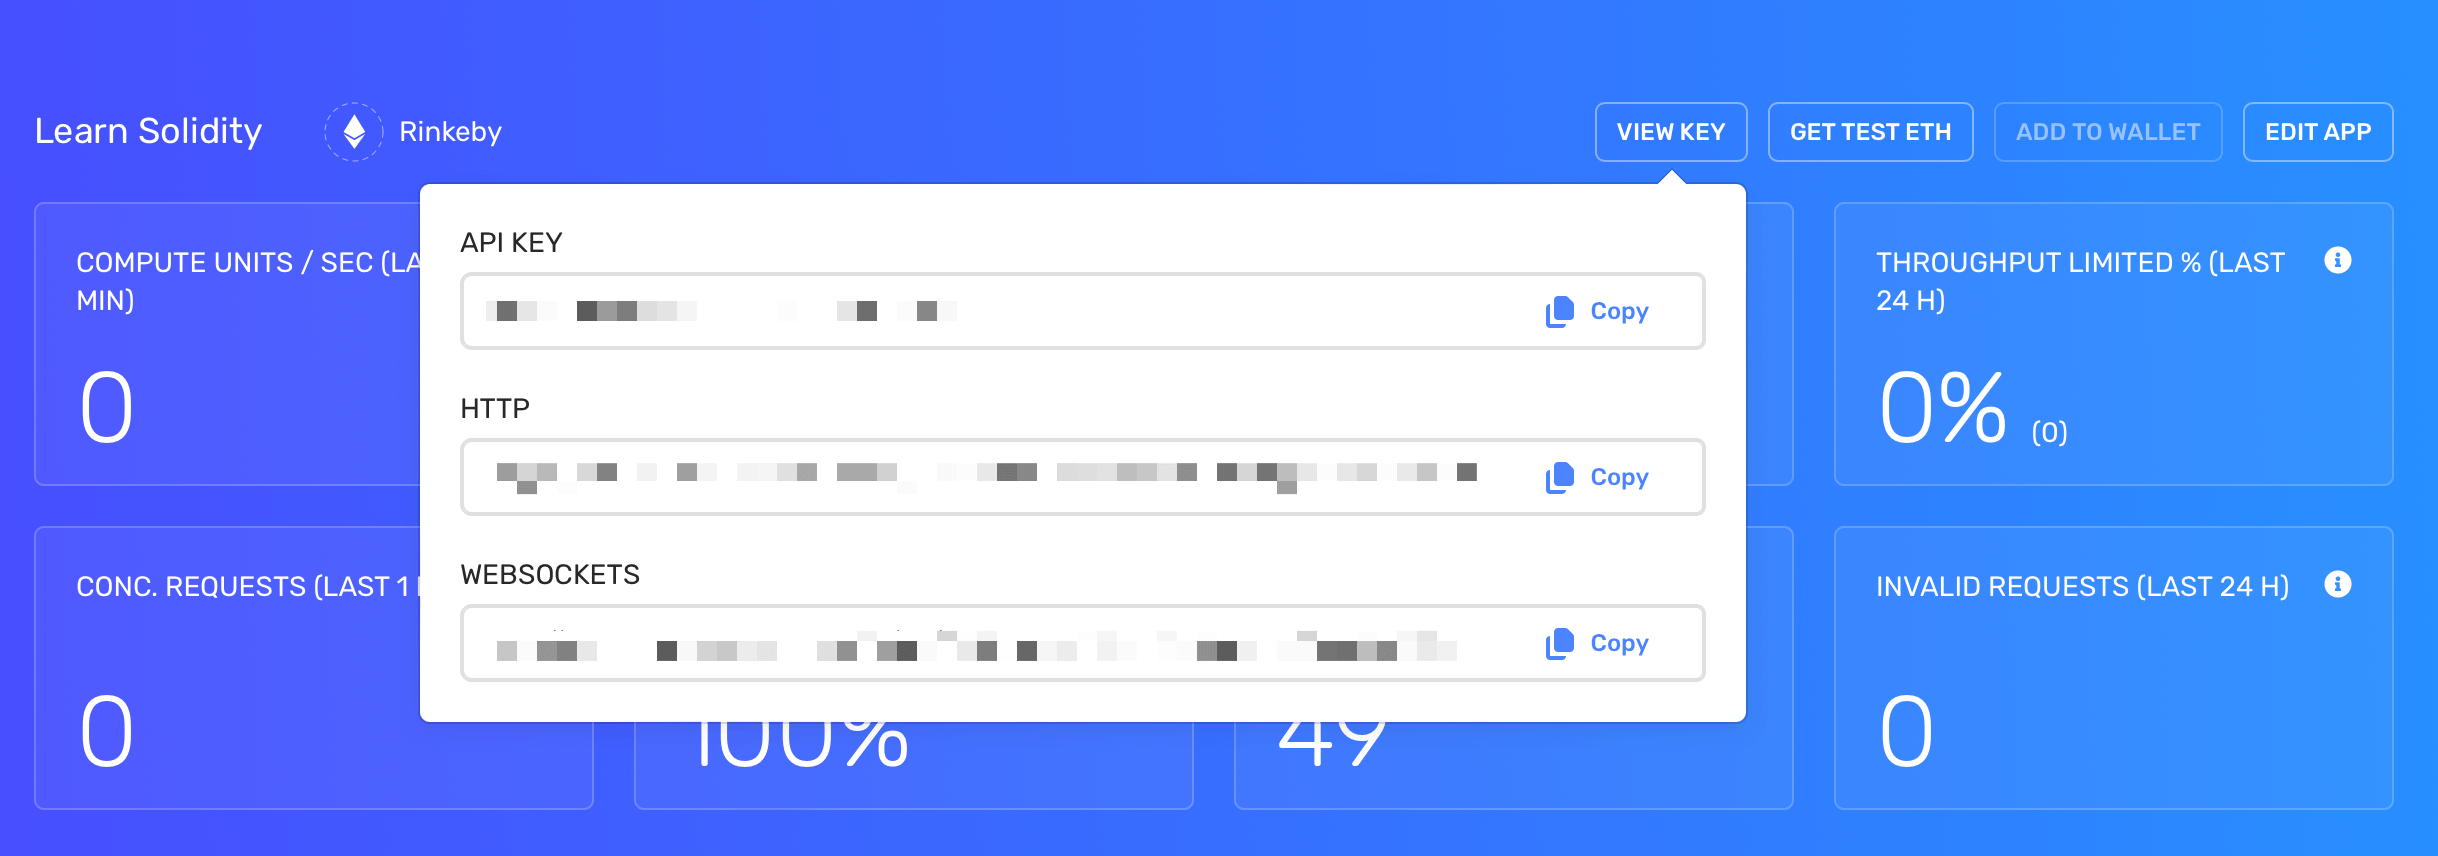
创建完成后,点击 View Details,可以看到我们刚创建的 App 详细信息,点击右上角 View Key,可以查询我们的节点信息,我们需要记录下 HTTP URL,供后续连接使用。

创建 Rinkeby 测试账户(MetaMask) #
MetaMask #
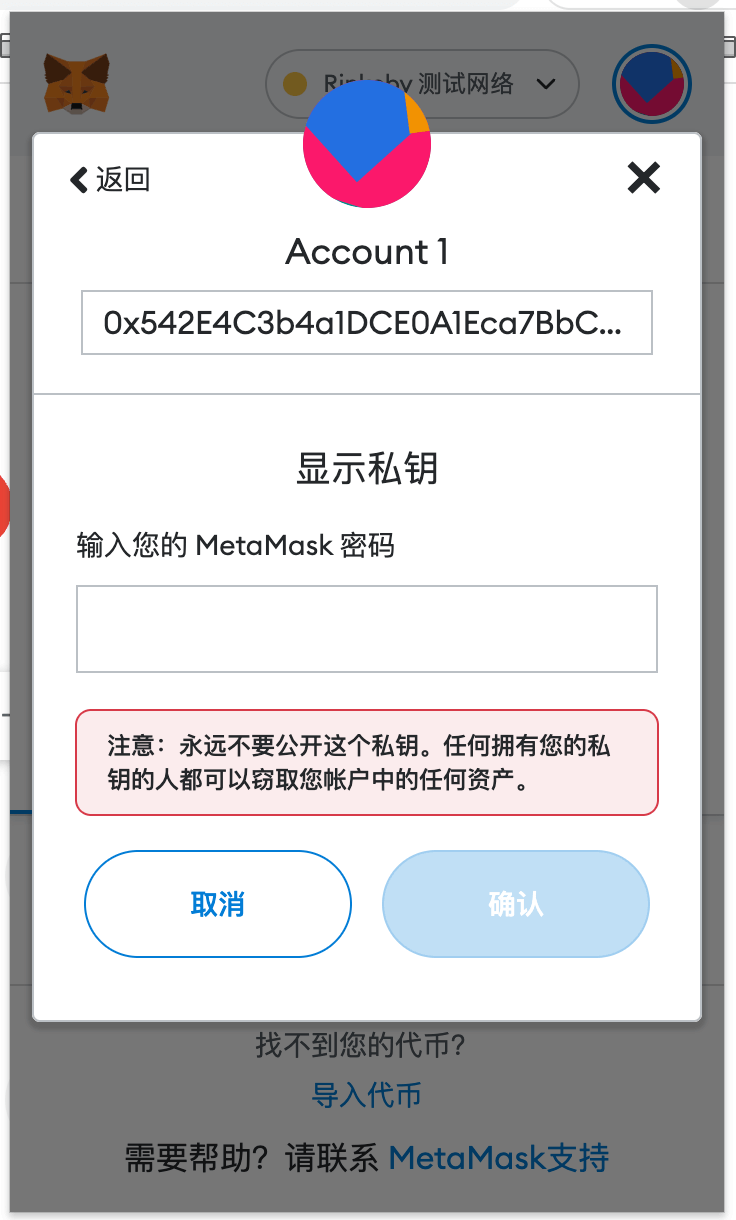
完成了 Rinkeby 测试网络环境的创建,我们需要通过 MetaMask 创建账户,获取一些测试 Token,并且将账户私钥记录下来,以便后续使用。

获取测试 Token #
创建账户后,我们需要一些测试 Token 来进行后续开发调试,我们可以通过以下网址获取:
连接测试节点与钱包 #
连接节点 #
ethers.js 提供了库可以方便地连接到我们的测试节点,其中 process.env.ALCHEMY_RPC_URL 为我们在 Alchemy 平台创建 App 的 HTTP URL:
const ethers = require('ethers')

const provider = new ethers.providers.JsonRpcProvider(process.env.ALCHEMY_RPC_URL)
连接钱包 #
ethers.js 也提供了方法可以连接到我们的测试钱包,其中 process.env.RINKEBY_PRIVATE_KEY 为我们从 MetaMask 复制的私钥。
const ethers = require('ethers')

const wallet = new ethers.Wallet(
  process.env.RINKEBY_PRIVATE_KEY,
  provider
)
Solidity 合约部署 #
创建合约 #
我们可以通过 ethers.js 库创建合约。
const contractFactory = new ethers.ContractFactory(abi, binary, wallet)部署合约 #
下面我们介绍一下如何通过 ethers.js 库部署合约,其中 SimpleStorage 合约的 ABI 和 BIN 文件已经在上面的代码中读取过了。
创建合约 #
const contractFactory = new ethers.ContractFactory(abi, binary, wallet)部署合约 #
const contract = await contractFactory.deploy()
await contract.deployTransaction.wait(1)
与合约交互 #
我们也可以通过 ethers.js 来与合约进行交互。
retrieve() #
const currentFavoriteNumber = await contract.retrieve()store() #
const transactionResponse = await contract.store('7')
const transactionReceipt = await transactionResponse.wait(1)
从 raw data 构造交易 #
除了直接调用部署合约方法等,我们也可以自己构造交易。
构造交易 #
const nonce = await wallet.getTransactionCount()
const tx = {
  nonce,
  gasPrice: 20000000000,
  gasLimit: 1000000,
  to: null,
  value: 0,
  data: `0x${binary}`,
  chainId: 1337,
}
签名交易 #
const signedTx = await wallet.signTransaction(tx)发送交易 #
const sentTxResponse = await wallet.sendTransaction(tx)
await sentTxResponse.wait(1)
总结 #
以上就是我们通过 ethers.js 库与 Alchemy 的 Rinkeby 测试网络进行交互的步骤,在真正的生产项目开发中我们一般不会直接使用 ethers.js 这样的库,而是会使用 Brownie、HardHat 这样进一步封装的框架,但了解 Web3.py 或 ethers.js 等库的使用方法也非常重要。后续我还会对 HardHat 框架的使用作进一步讲解。